I took the picture of DJ Sophia Lin off the net and started to retouch it using Photoshop CS6 and made a Ministry Of Sound Club Poster. The series of Images talks about the way I started with the actual raw picture and used various techniques of blends, Masks, Filters, Oil Filters of Photoshop CS6 to complete it.
This is Not a Commercial Work and Photo rights are held by the individual Photographer for the DJ Sophia Lin & Ministry Of Sound holds the Copyright for its Logo and Label.
This is Not a Commercial Work and Photo rights are held by the individual Photographer for the DJ Sophia Lin & Ministry Of Sound holds the Copyright for its Logo and Label.
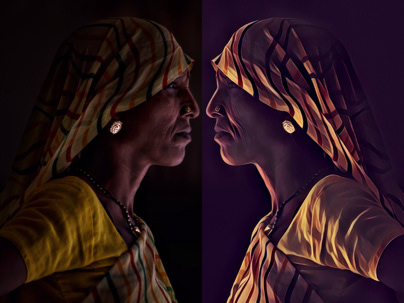
The sliced view of the Before&After
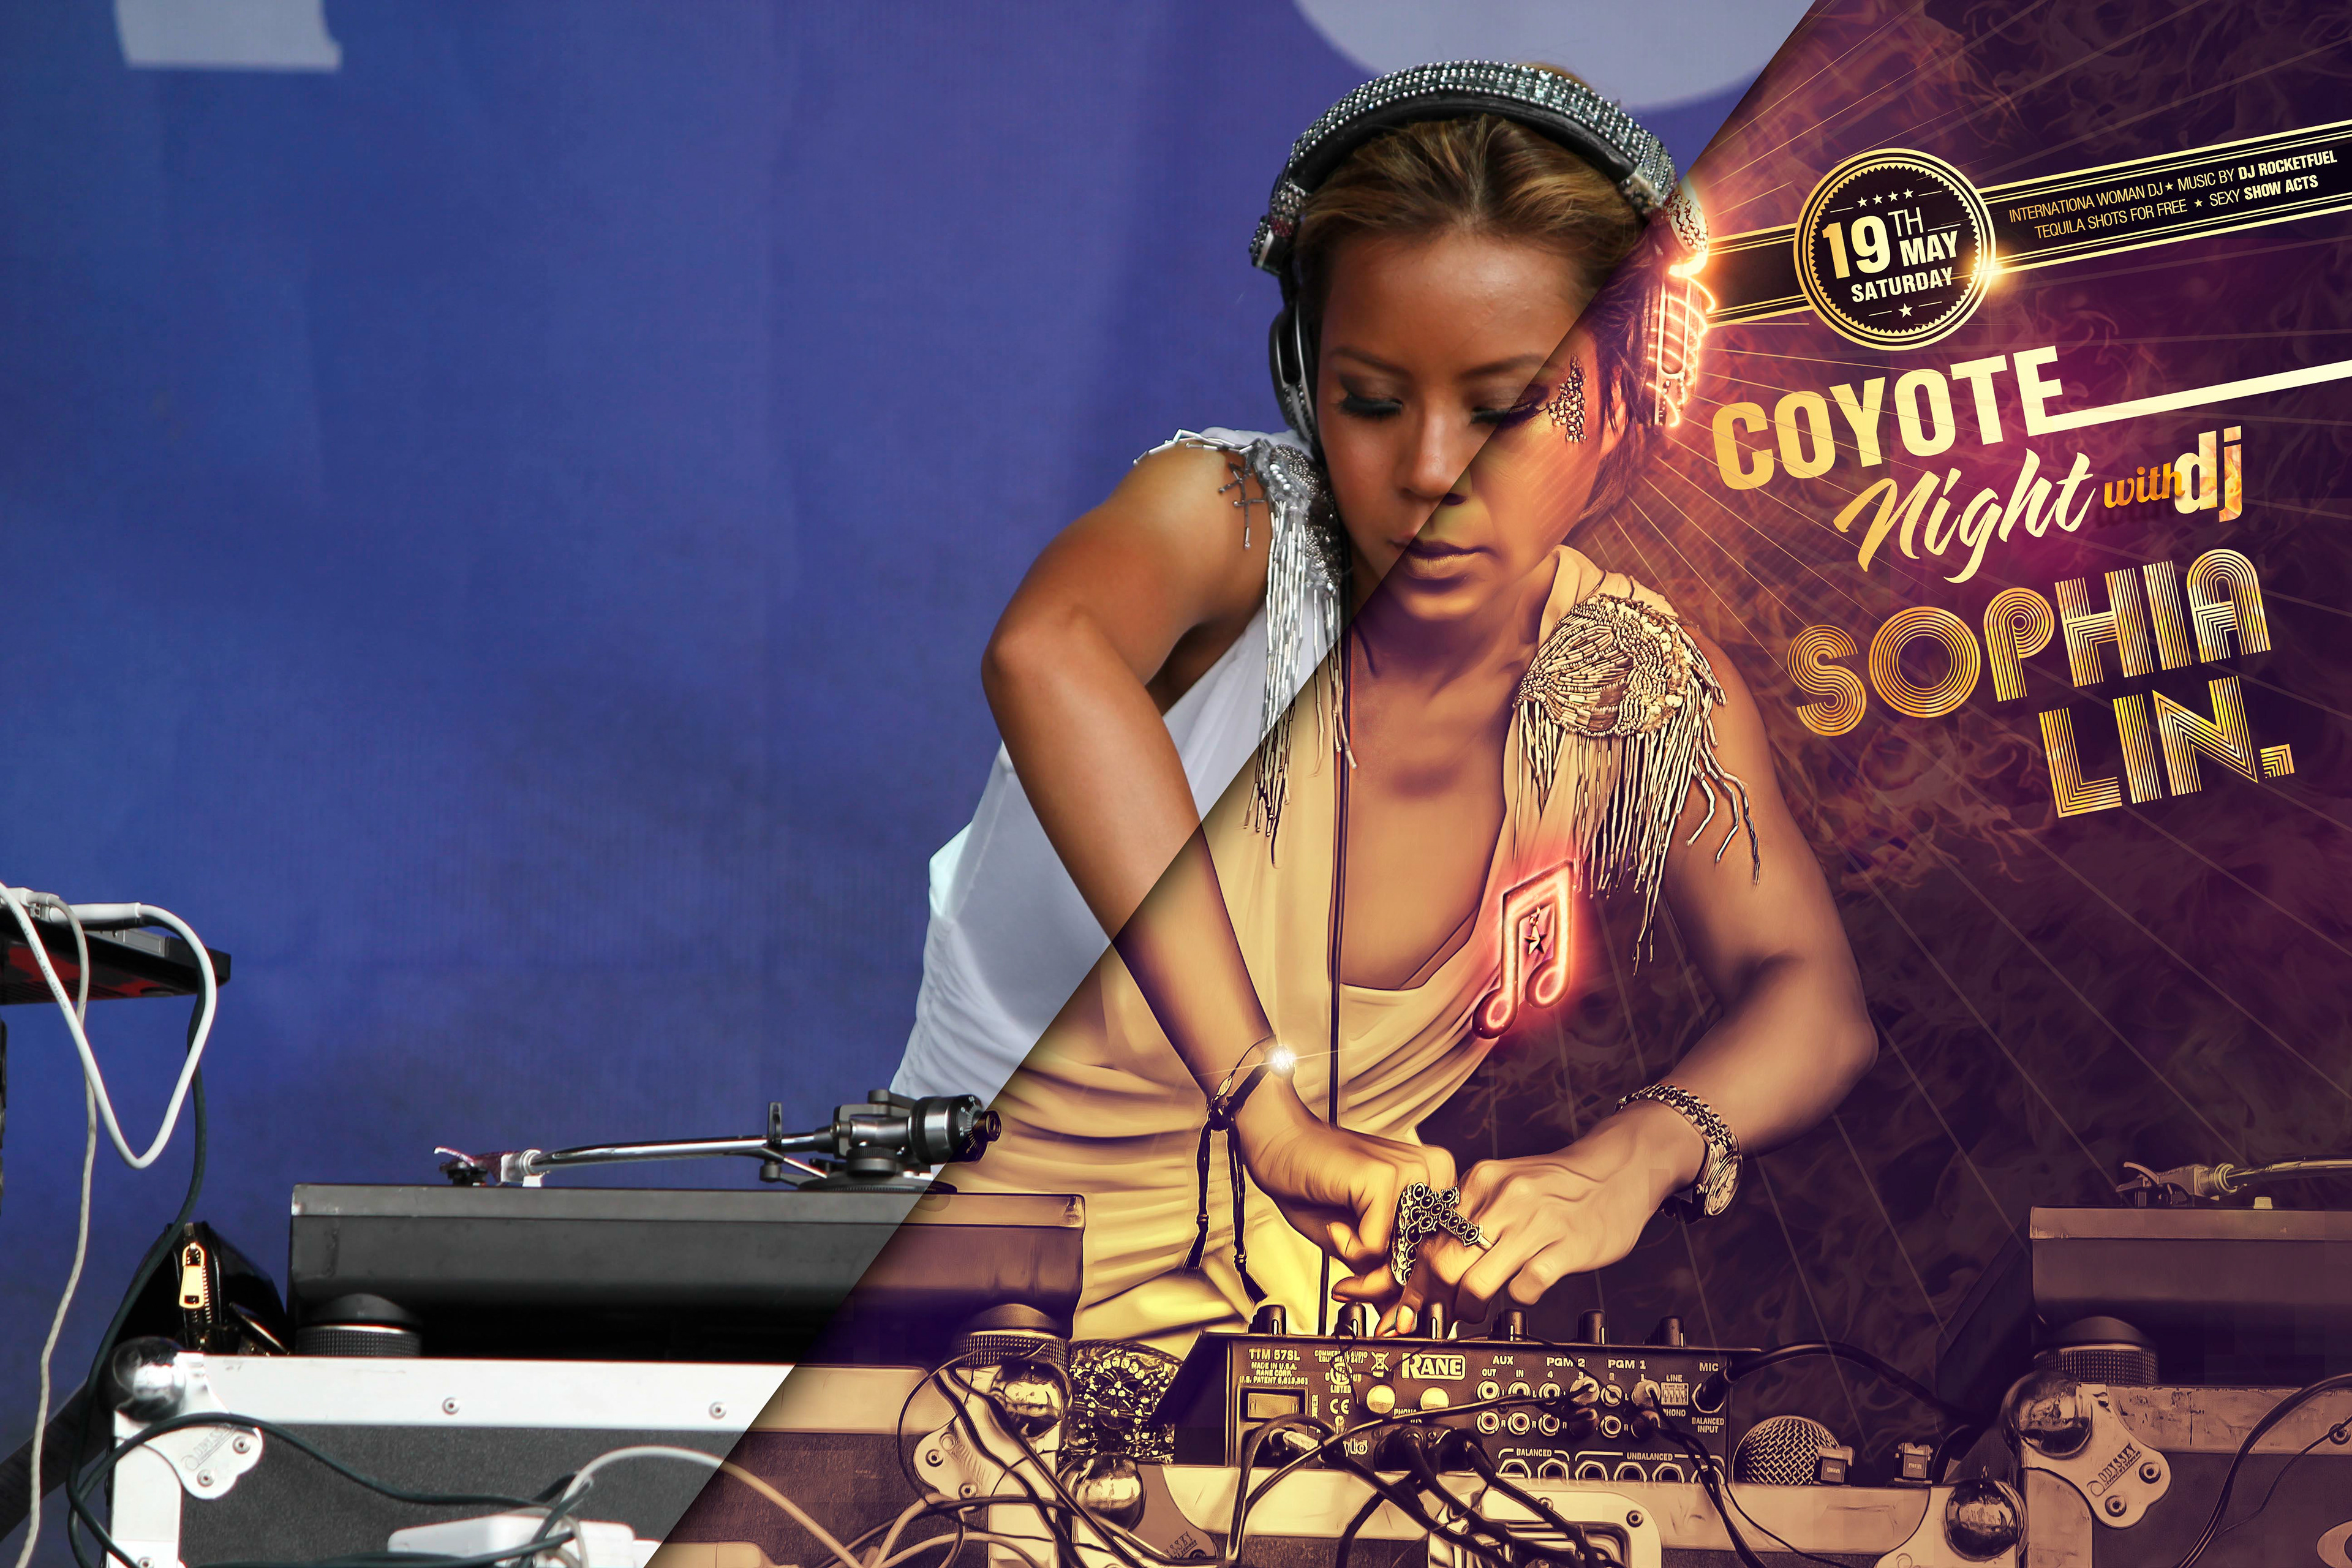
The sliced view of the Before&After

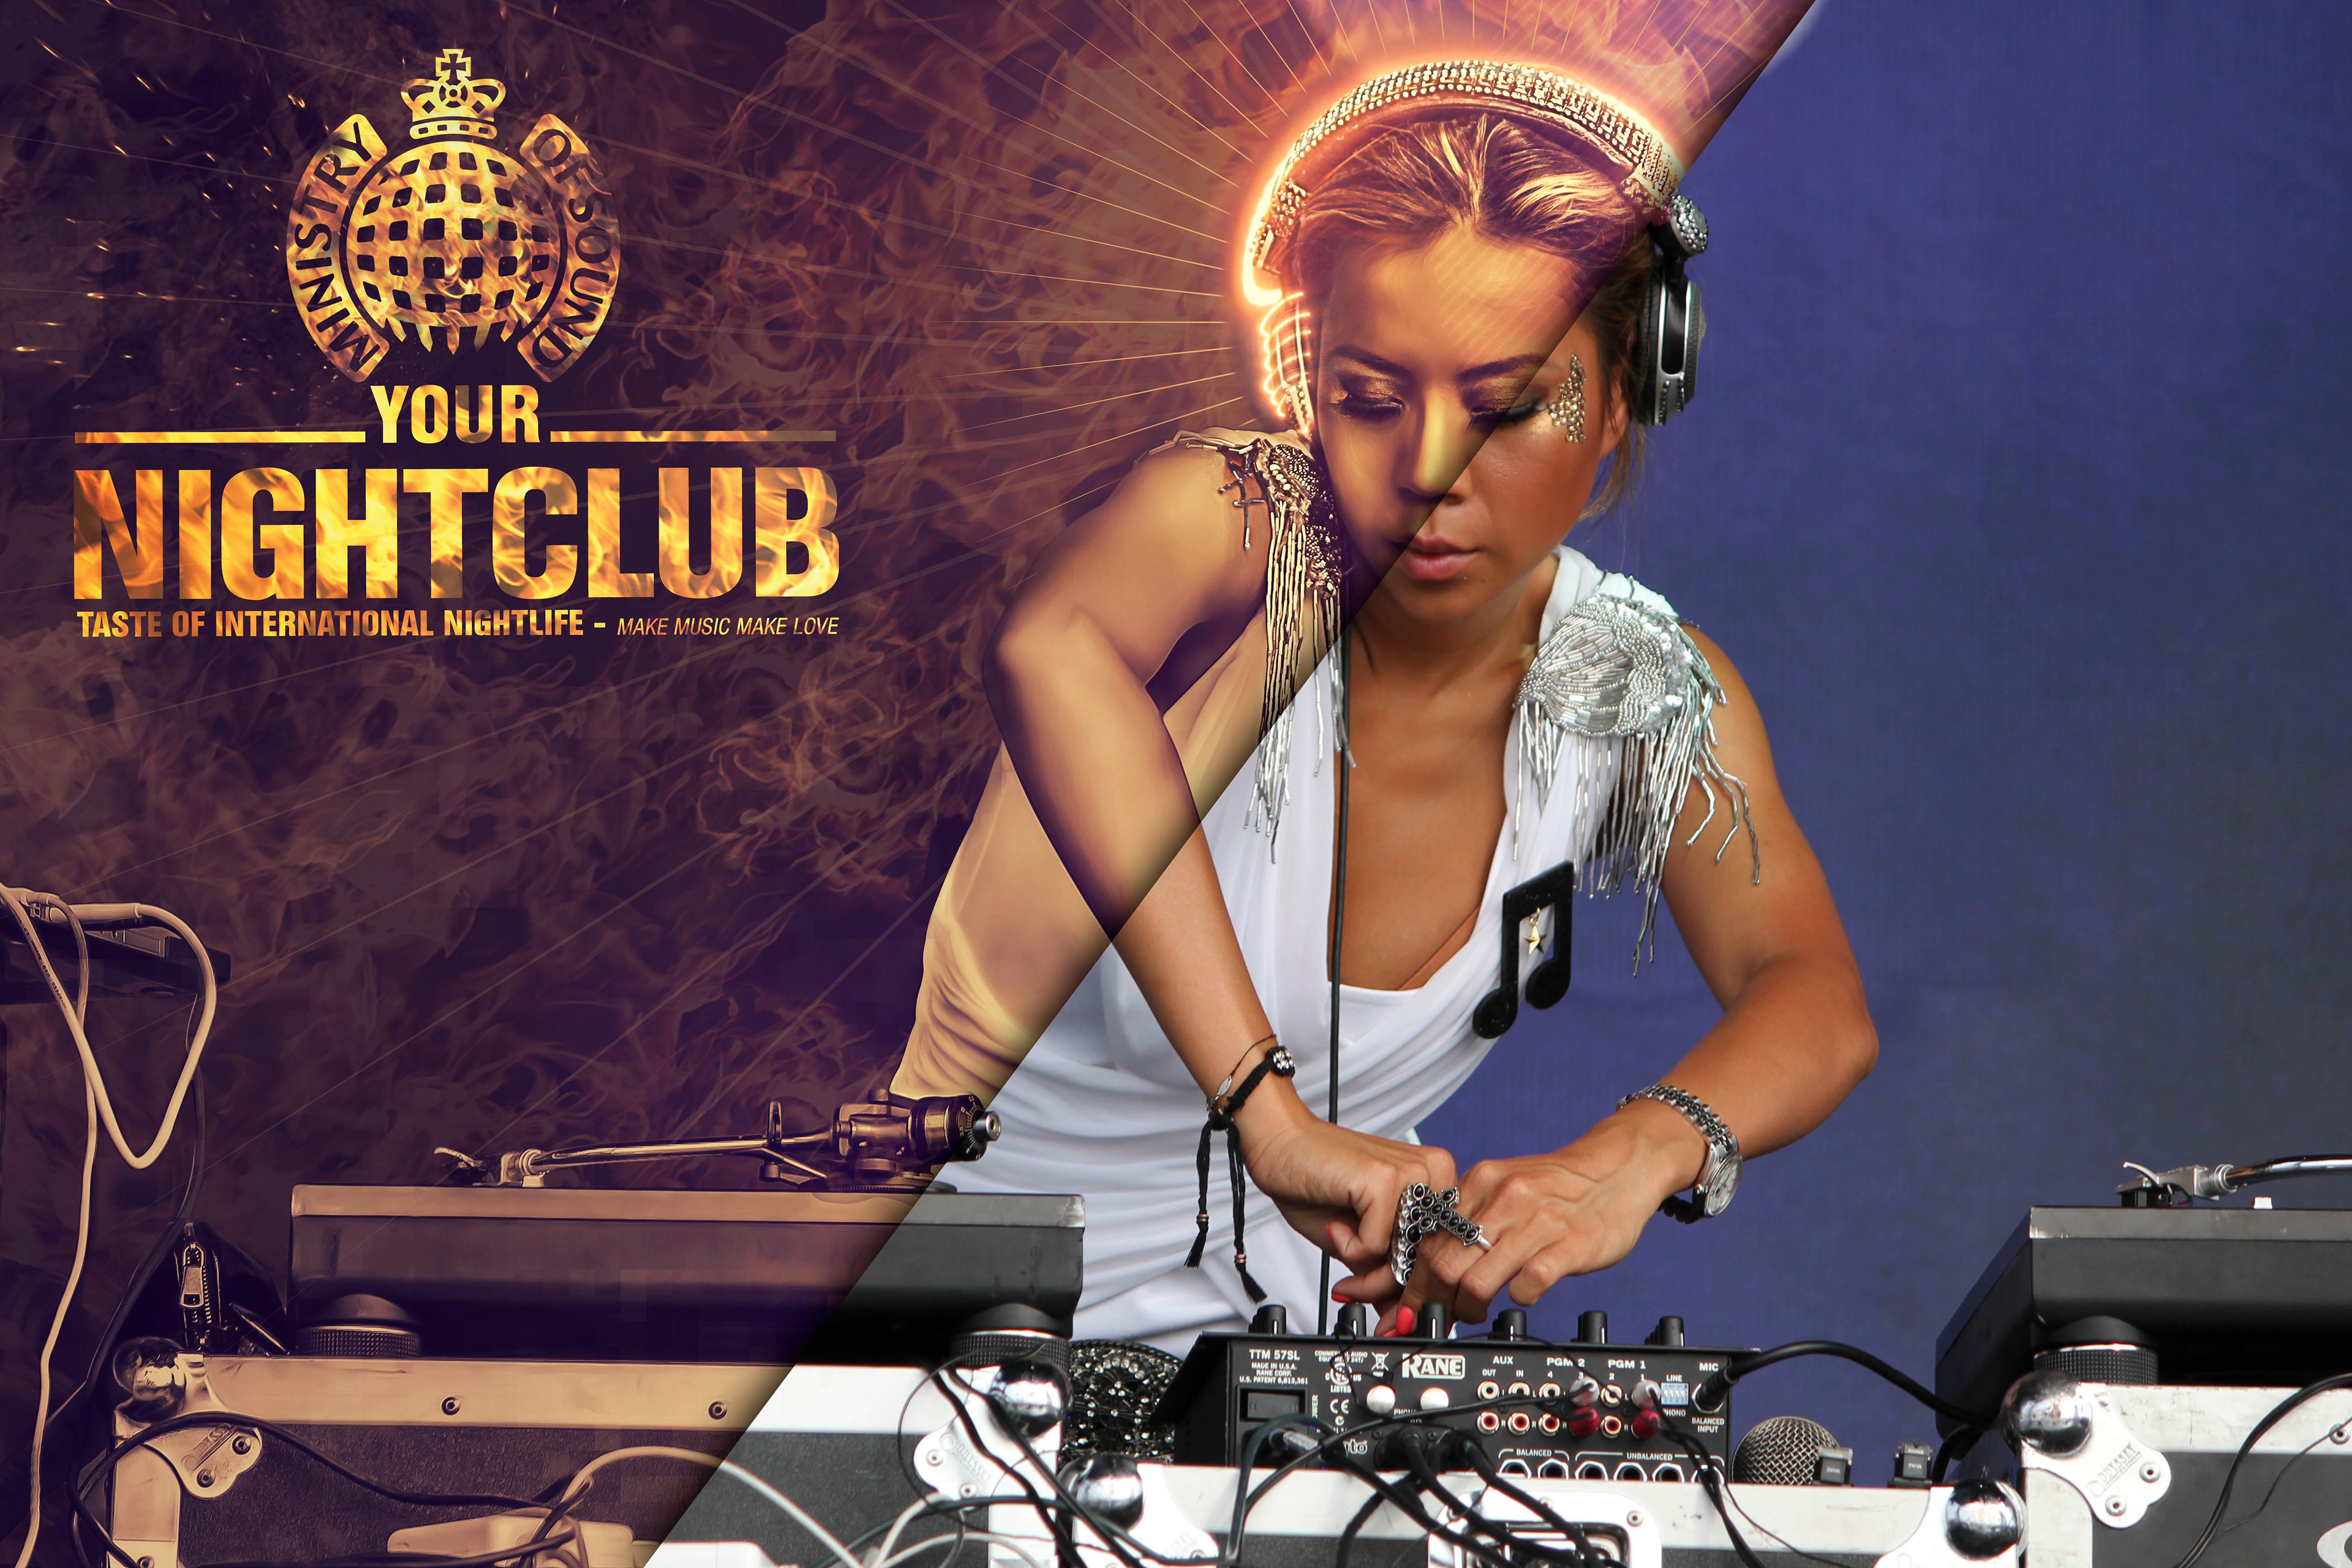
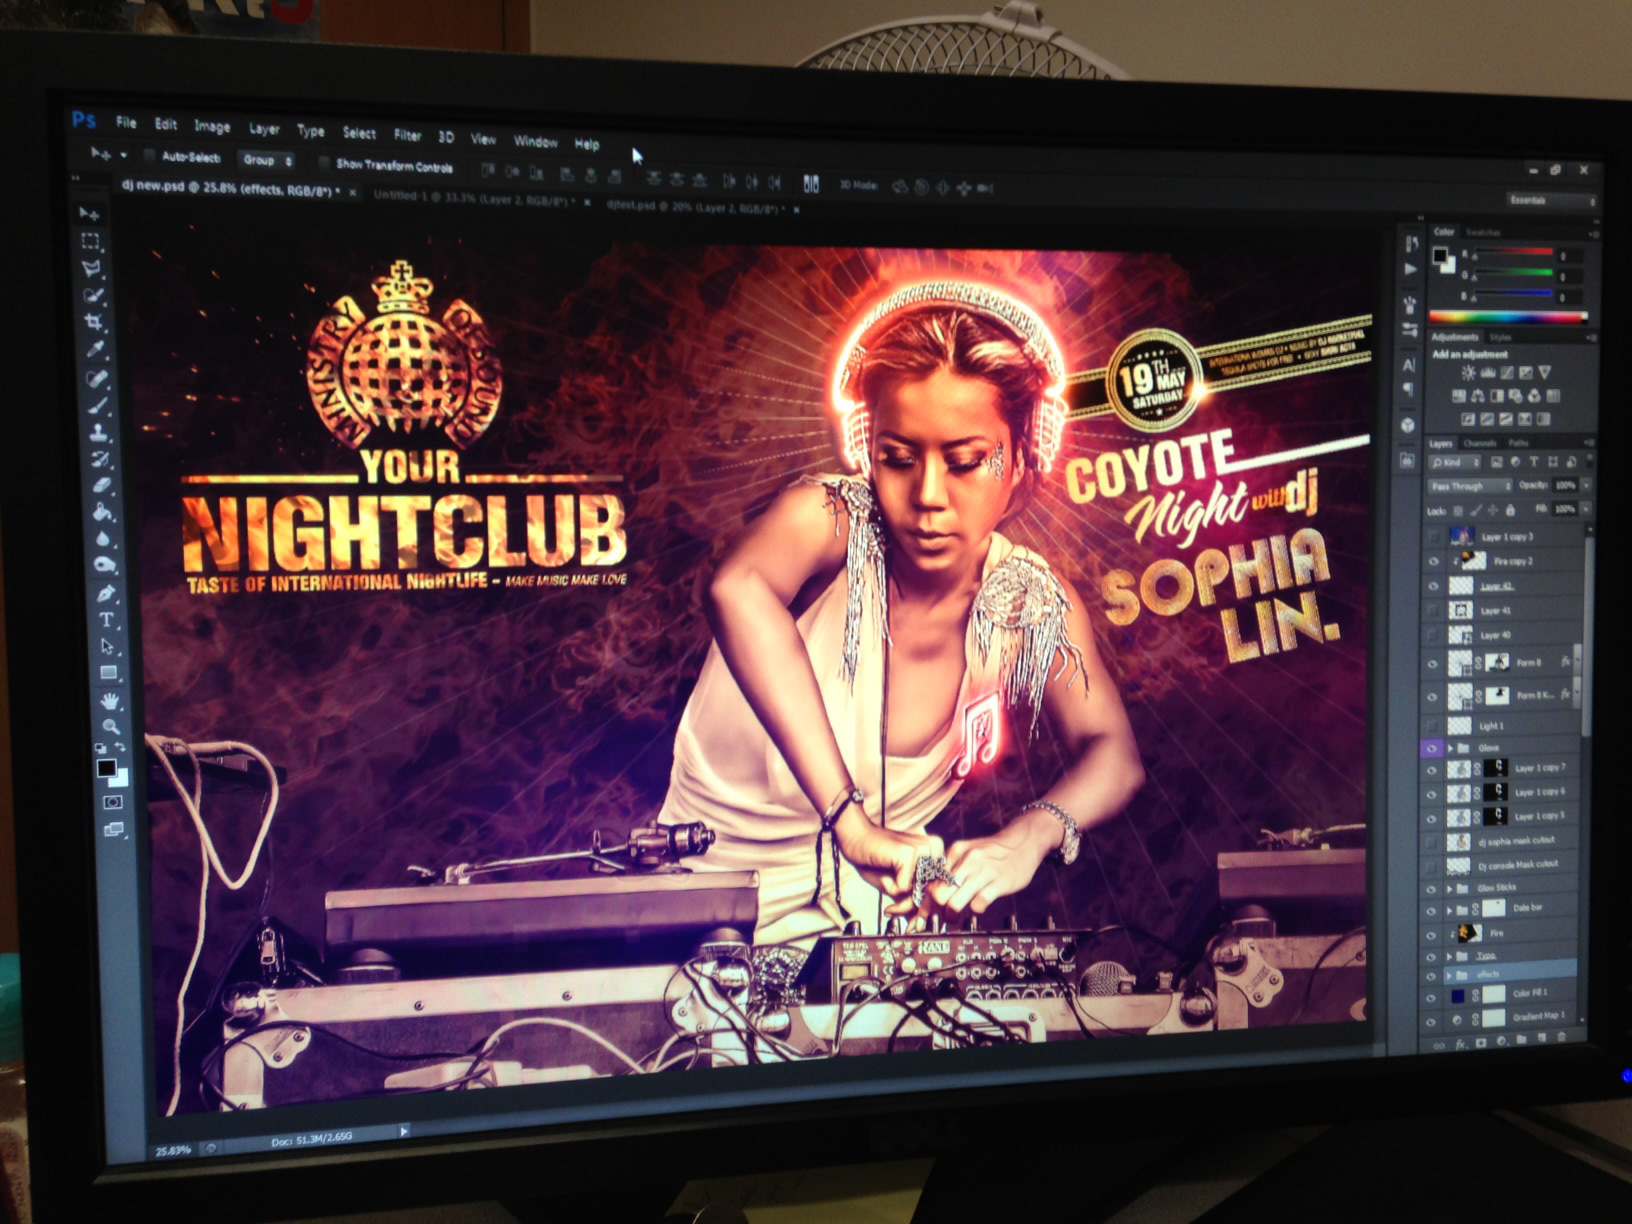
Final Version of the Poster. Here I have accomplished this task using the Blend modes, Masking and Layer Clipping features of Photoshop CS6 a lot to get the rendering as I wanted and used the Oil Paint filter/Plugin Inbuilt in Photoshop CS6 to get to smoothen out and give the Digital Painting feel.
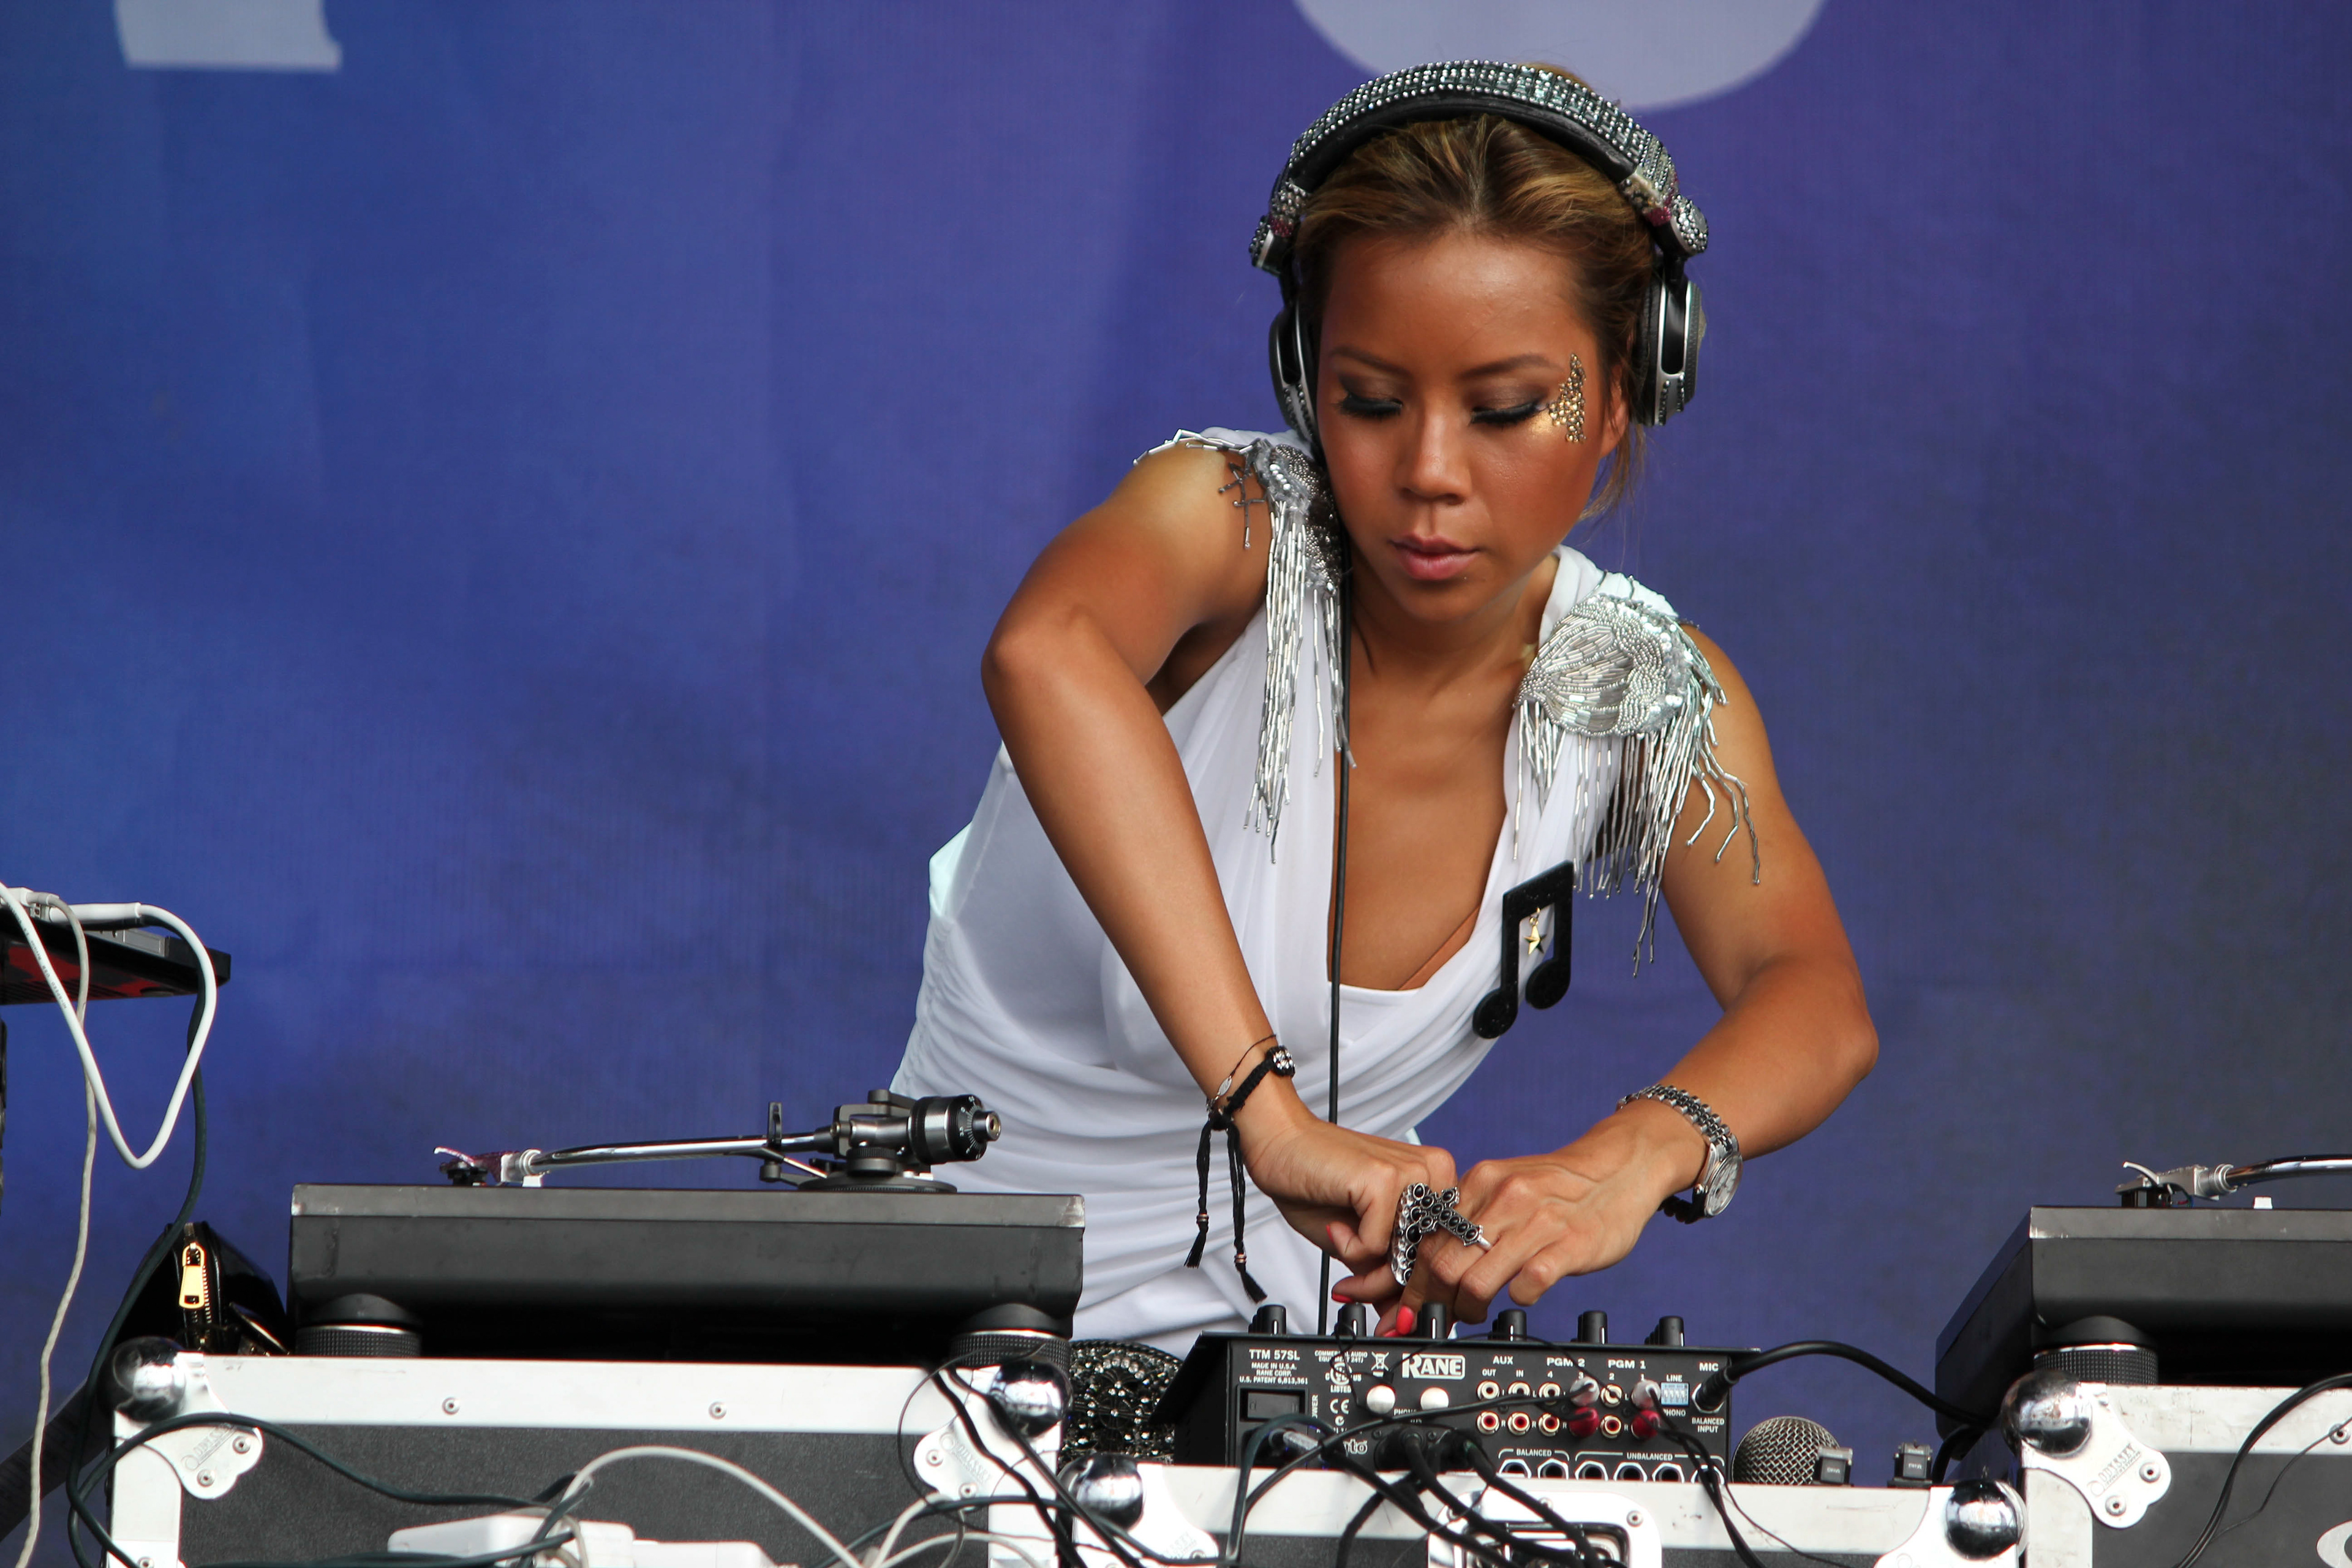
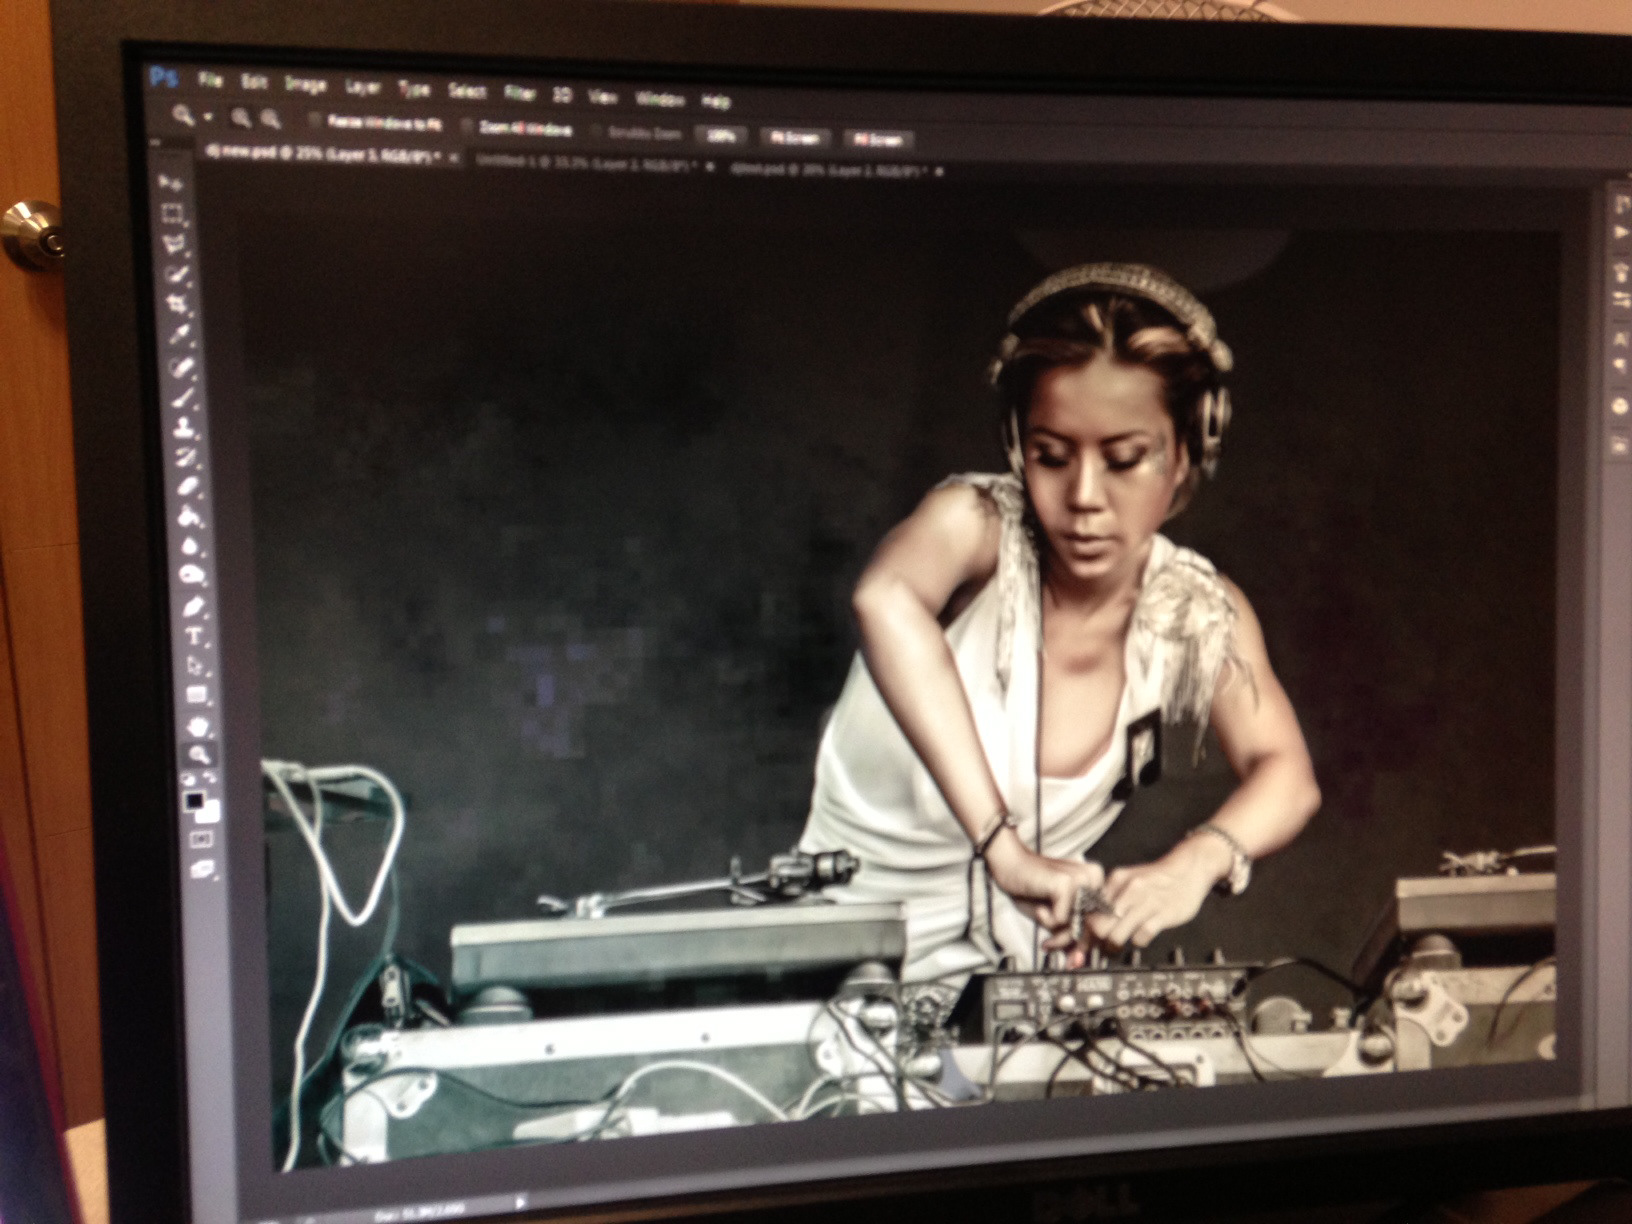
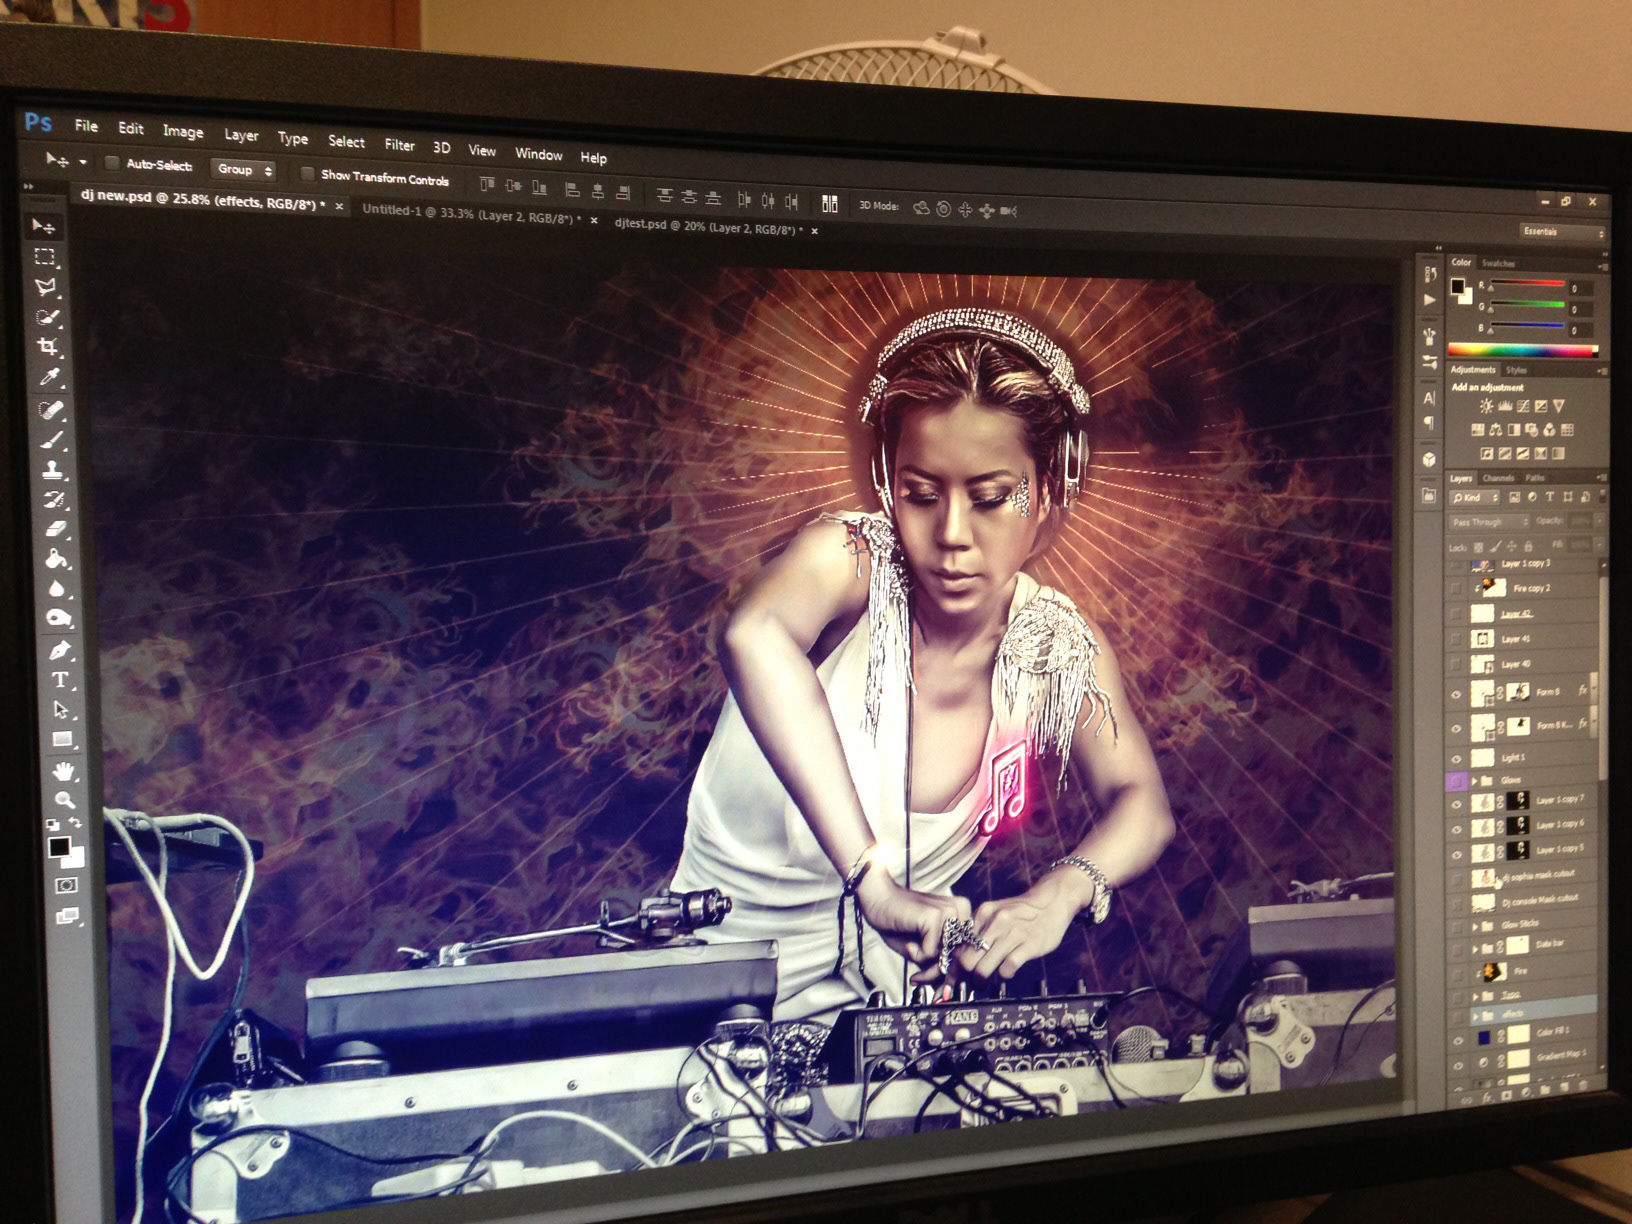
Actual Image of DJ Sophia Lin. And I love her style of mixing.
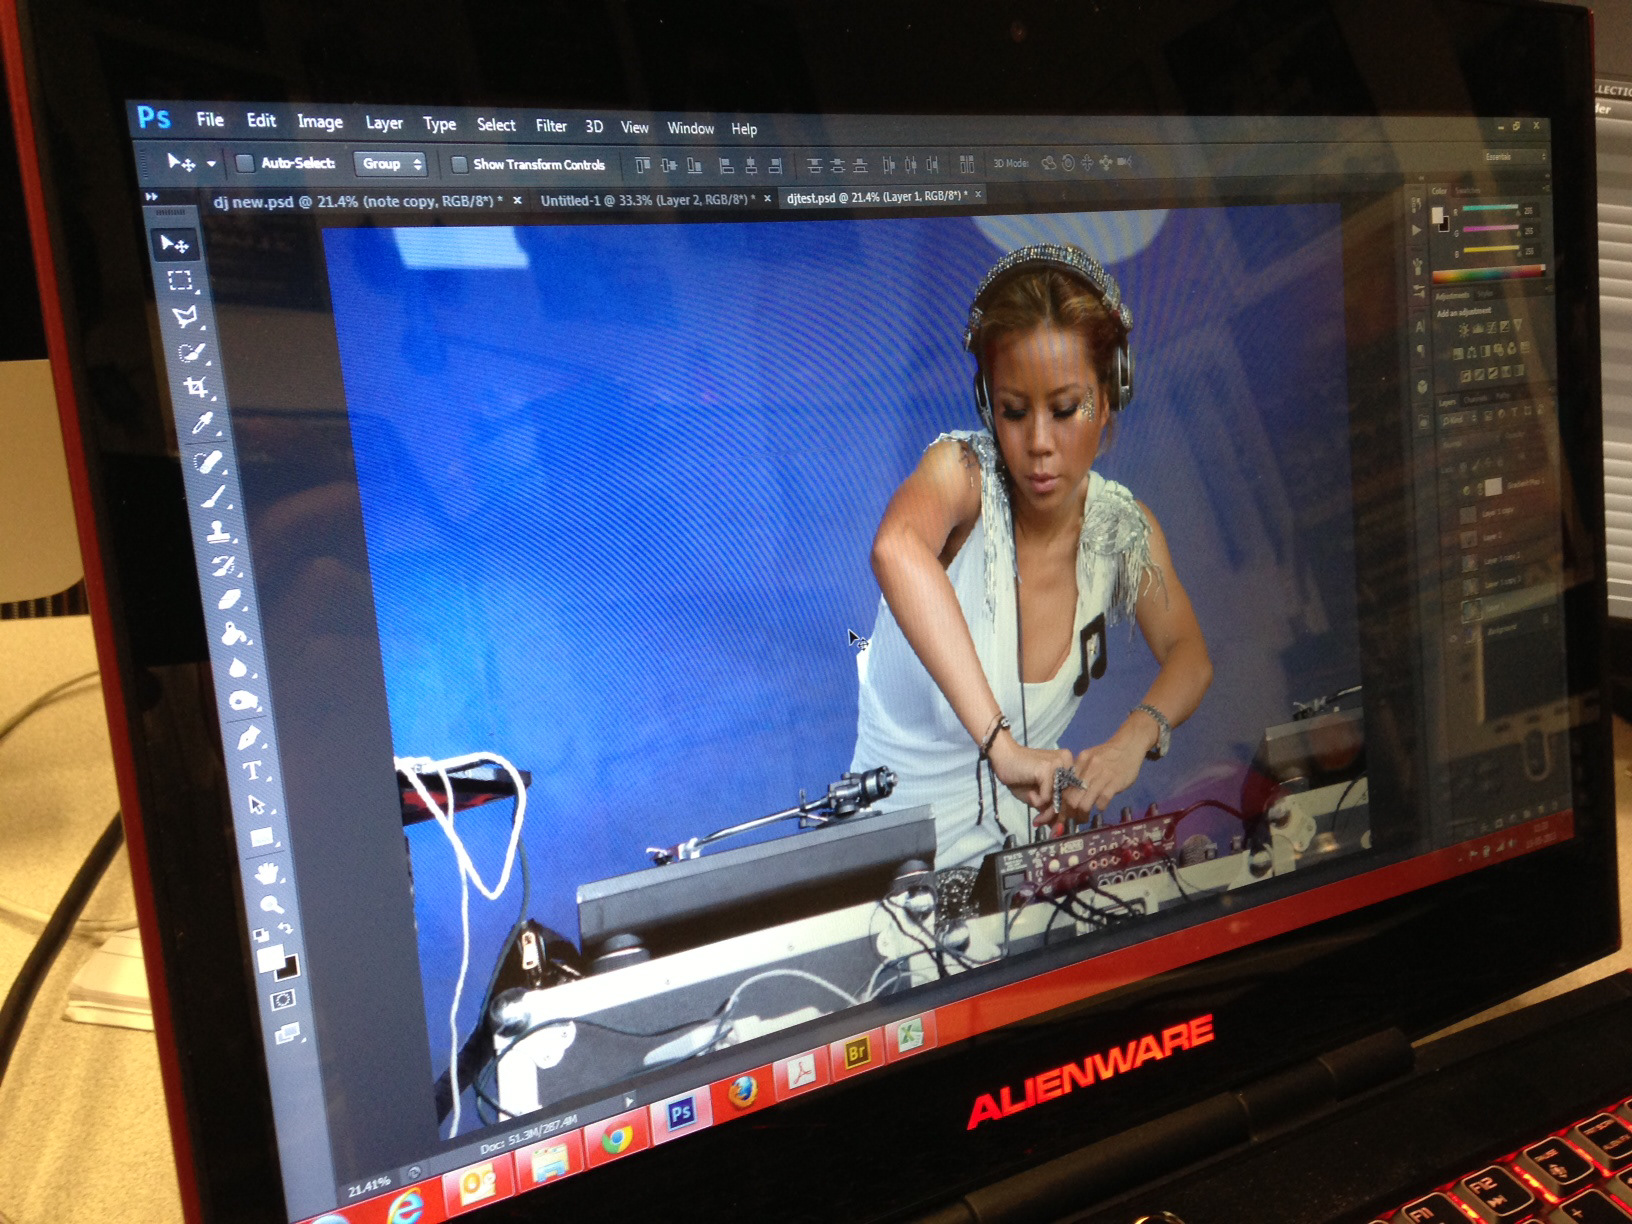
The Work Begins. It was a tedious work which took over 2 days of my weekend off. :)
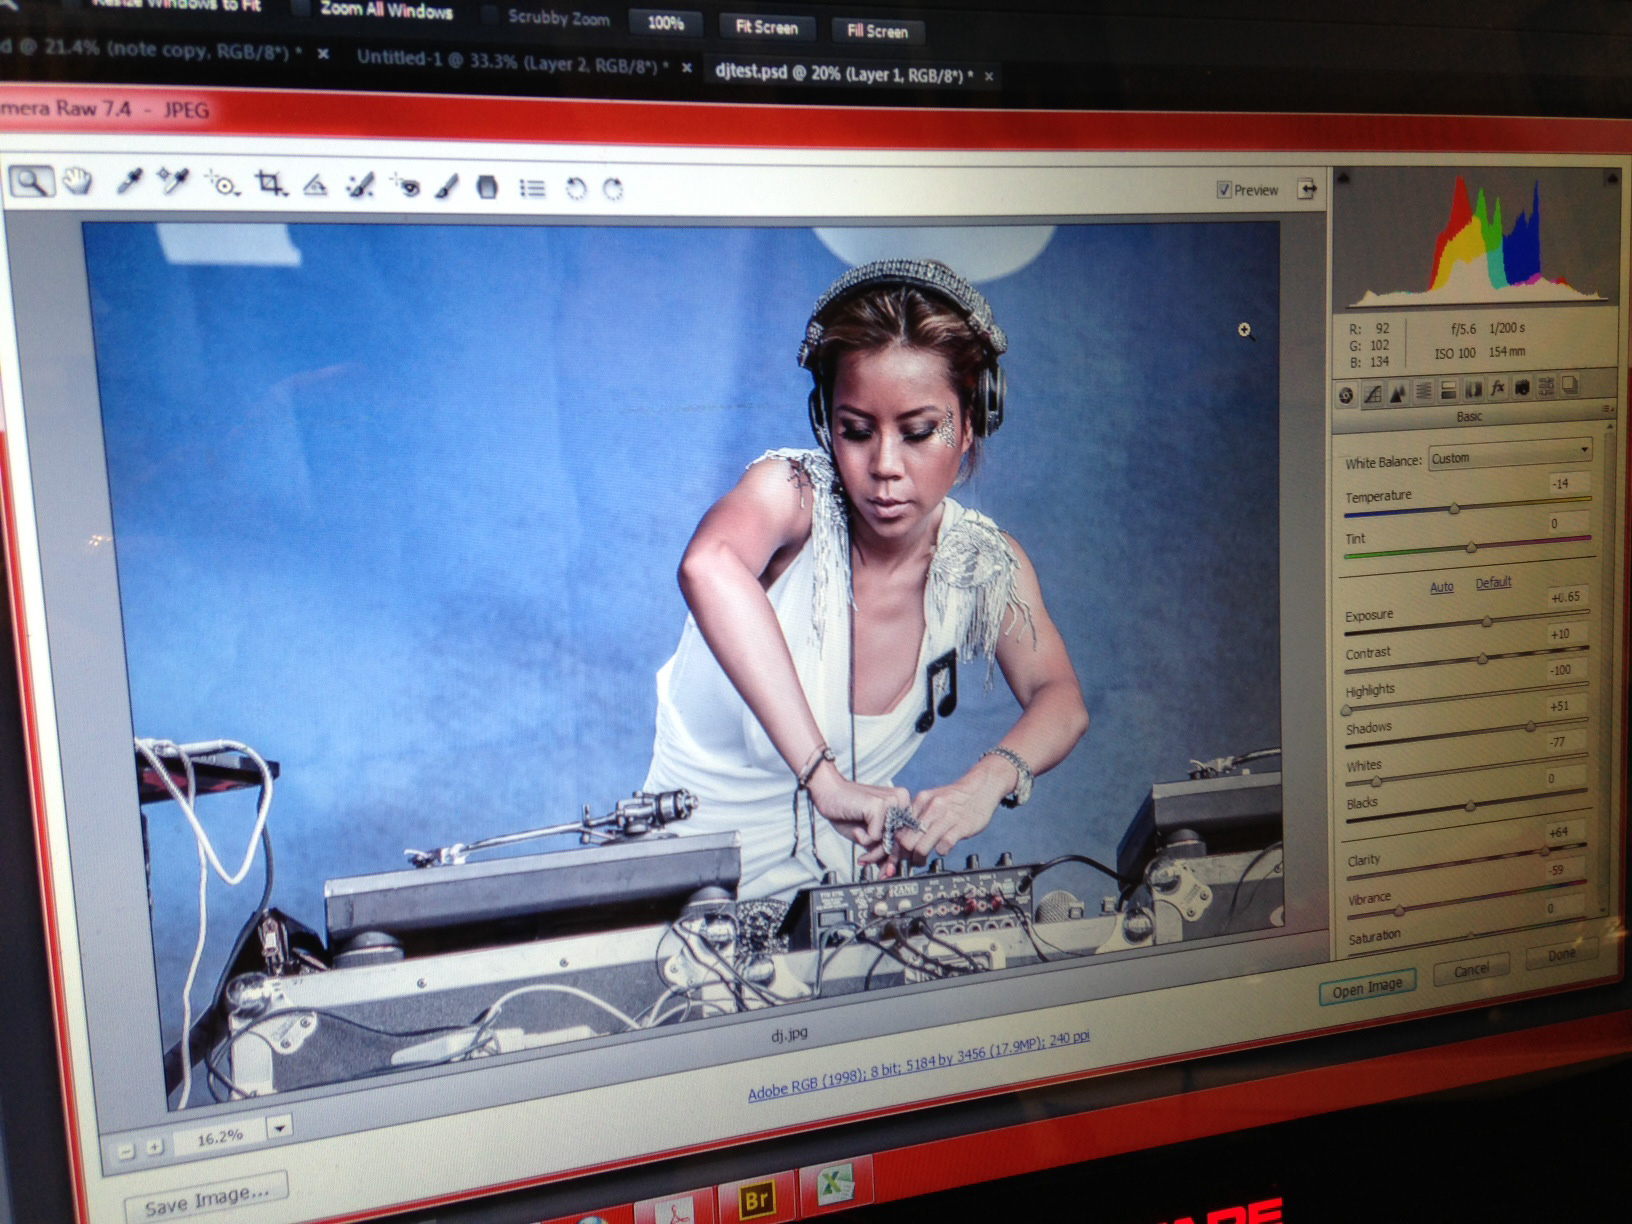
The Camera Raw feature to enable any JPEG to use it is a boon. The image can be taken to different level altogether just by tweaking the various elements within the Camera Raw filter.
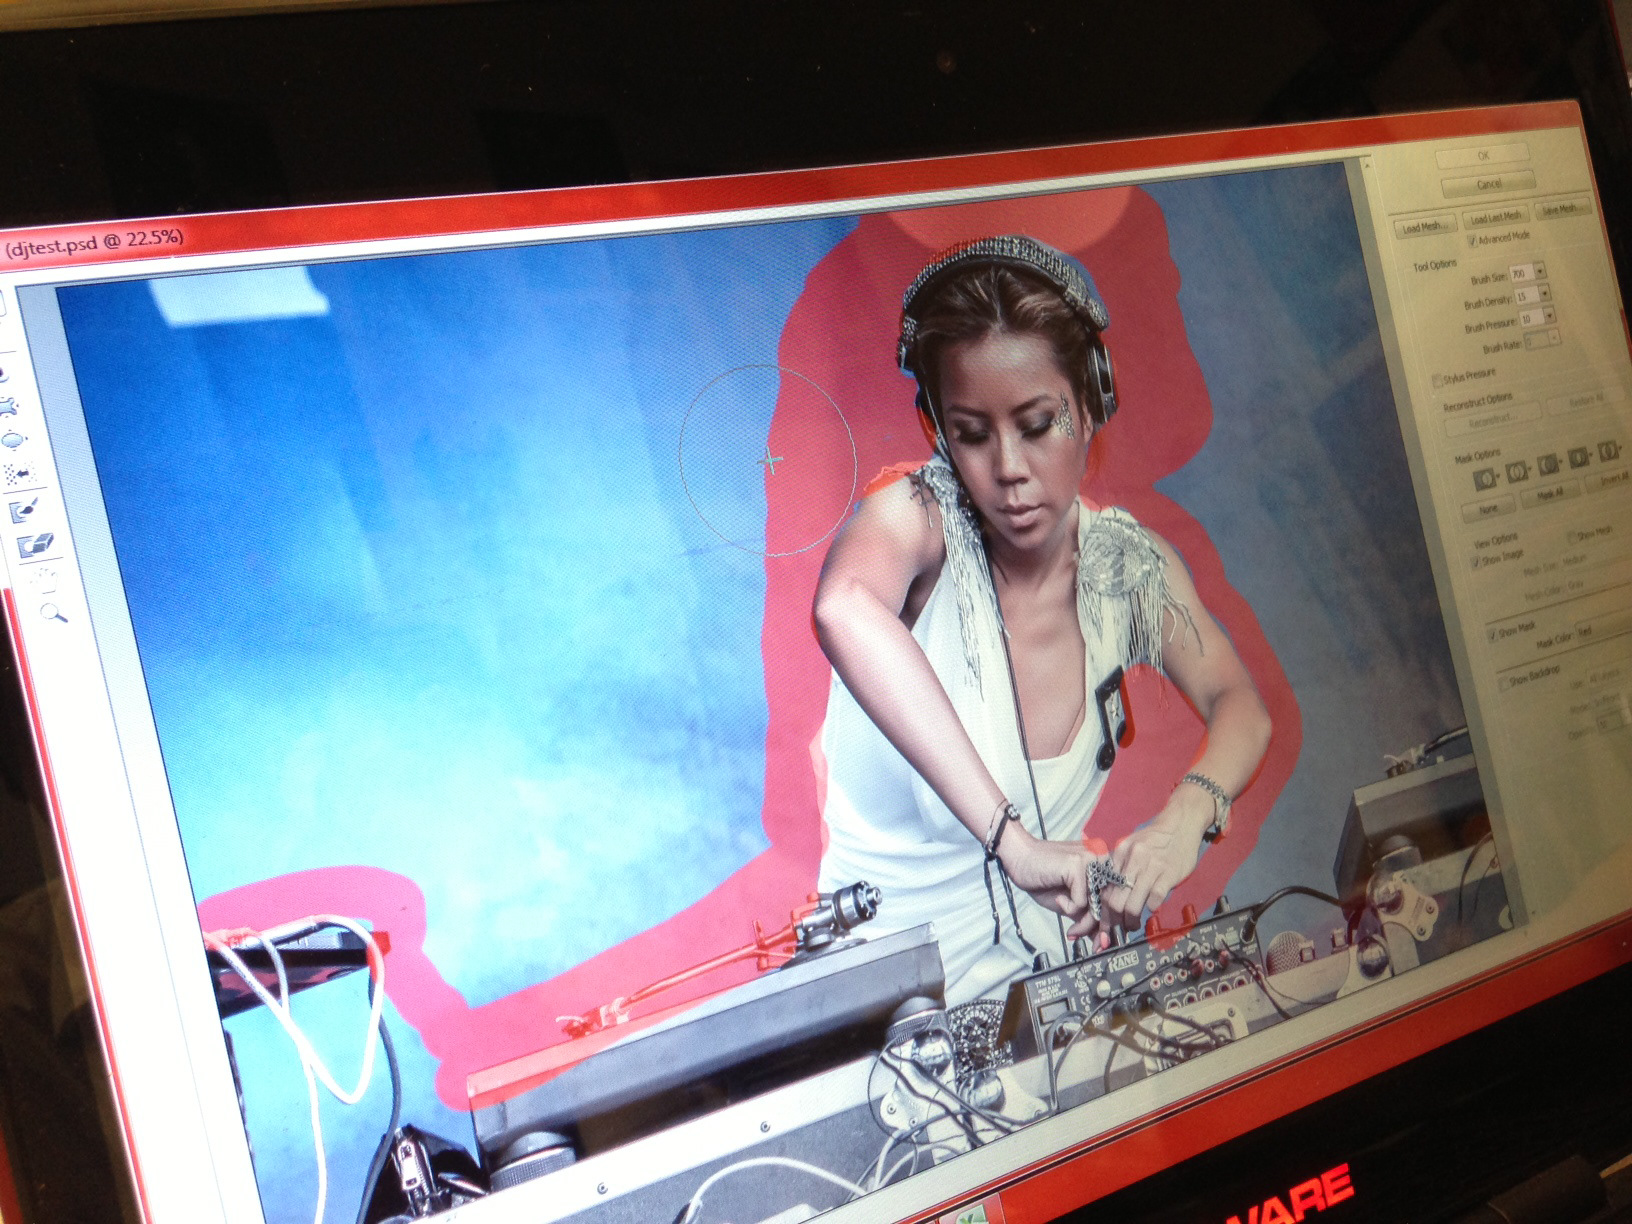
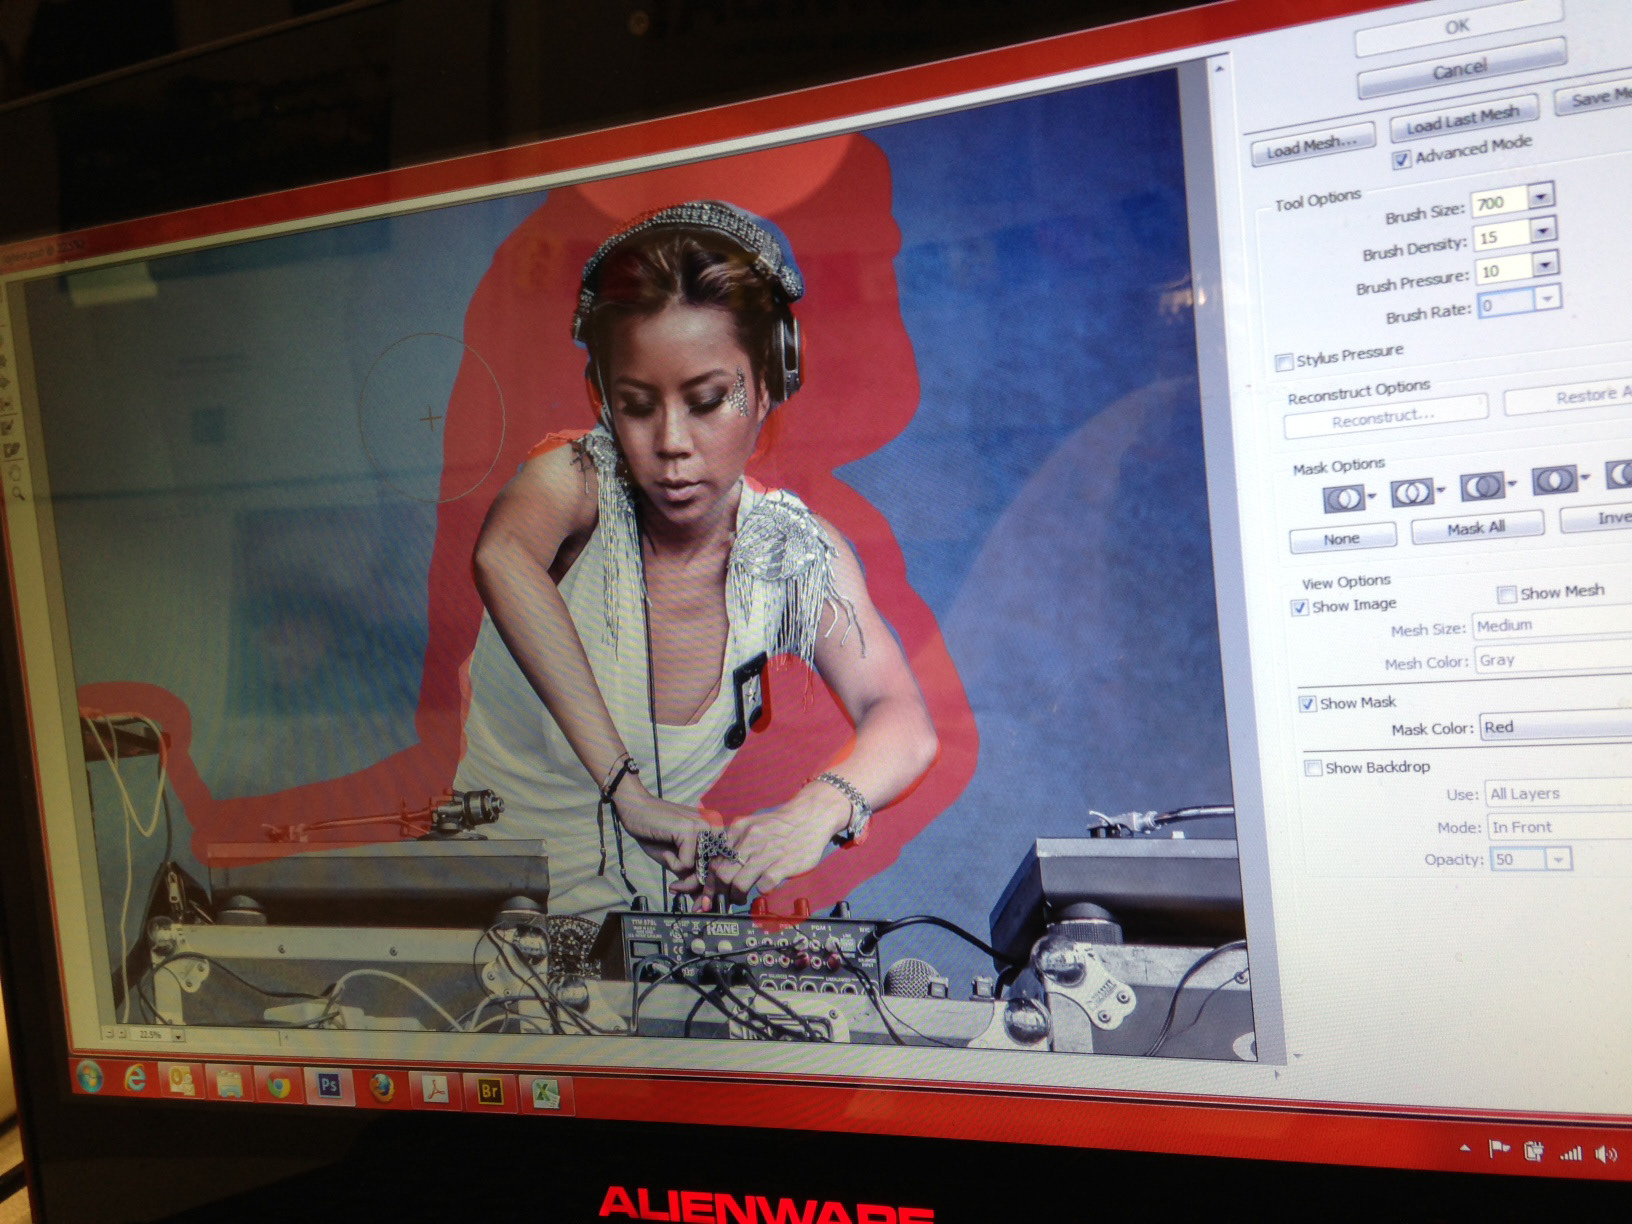
One Major tool always used in Photo Retouching is Liquify. Here I used the power of Liquify Not to Tone the body down but smooth the skin decoloration. It a different aspect to to approach it. :P
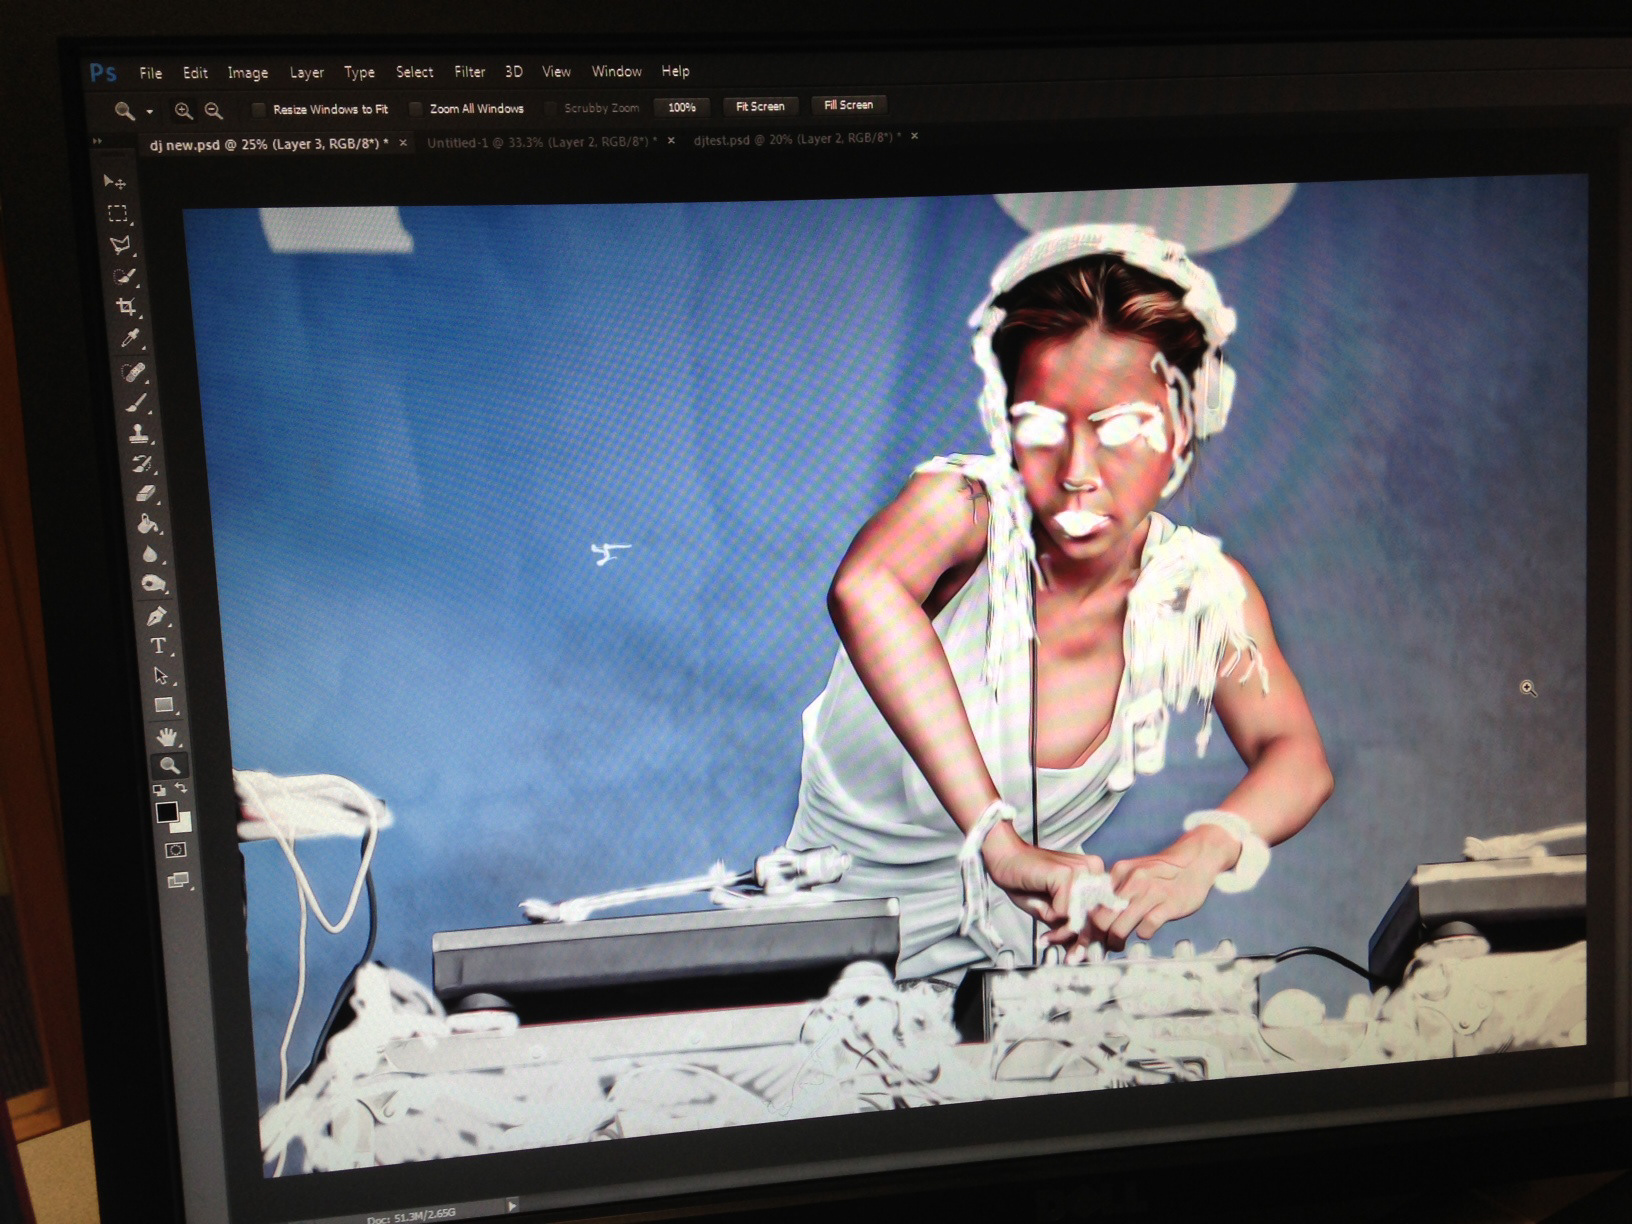
Masking the vital parts to have a mix of both ,the Digital and real gives a perspective to the image.
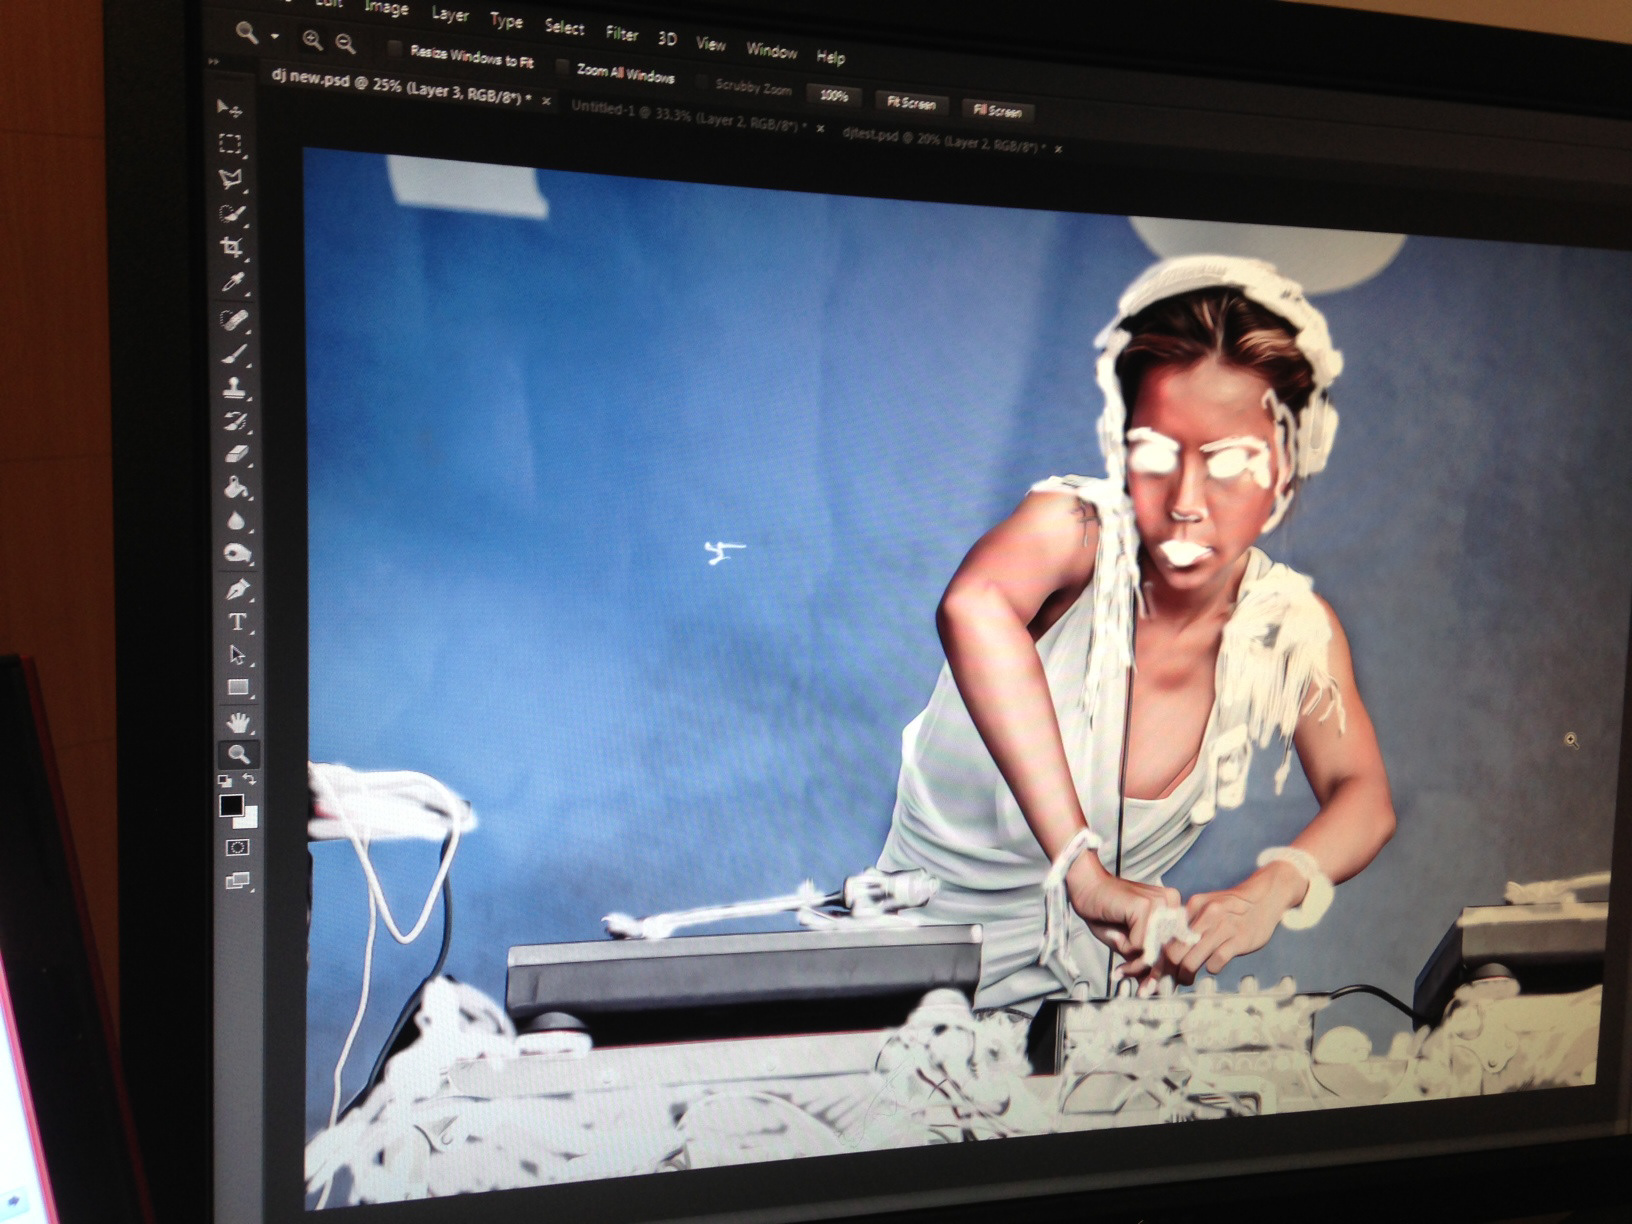

Adding different tones to the image and getting the vibrance down helps the image to have a depth in it.

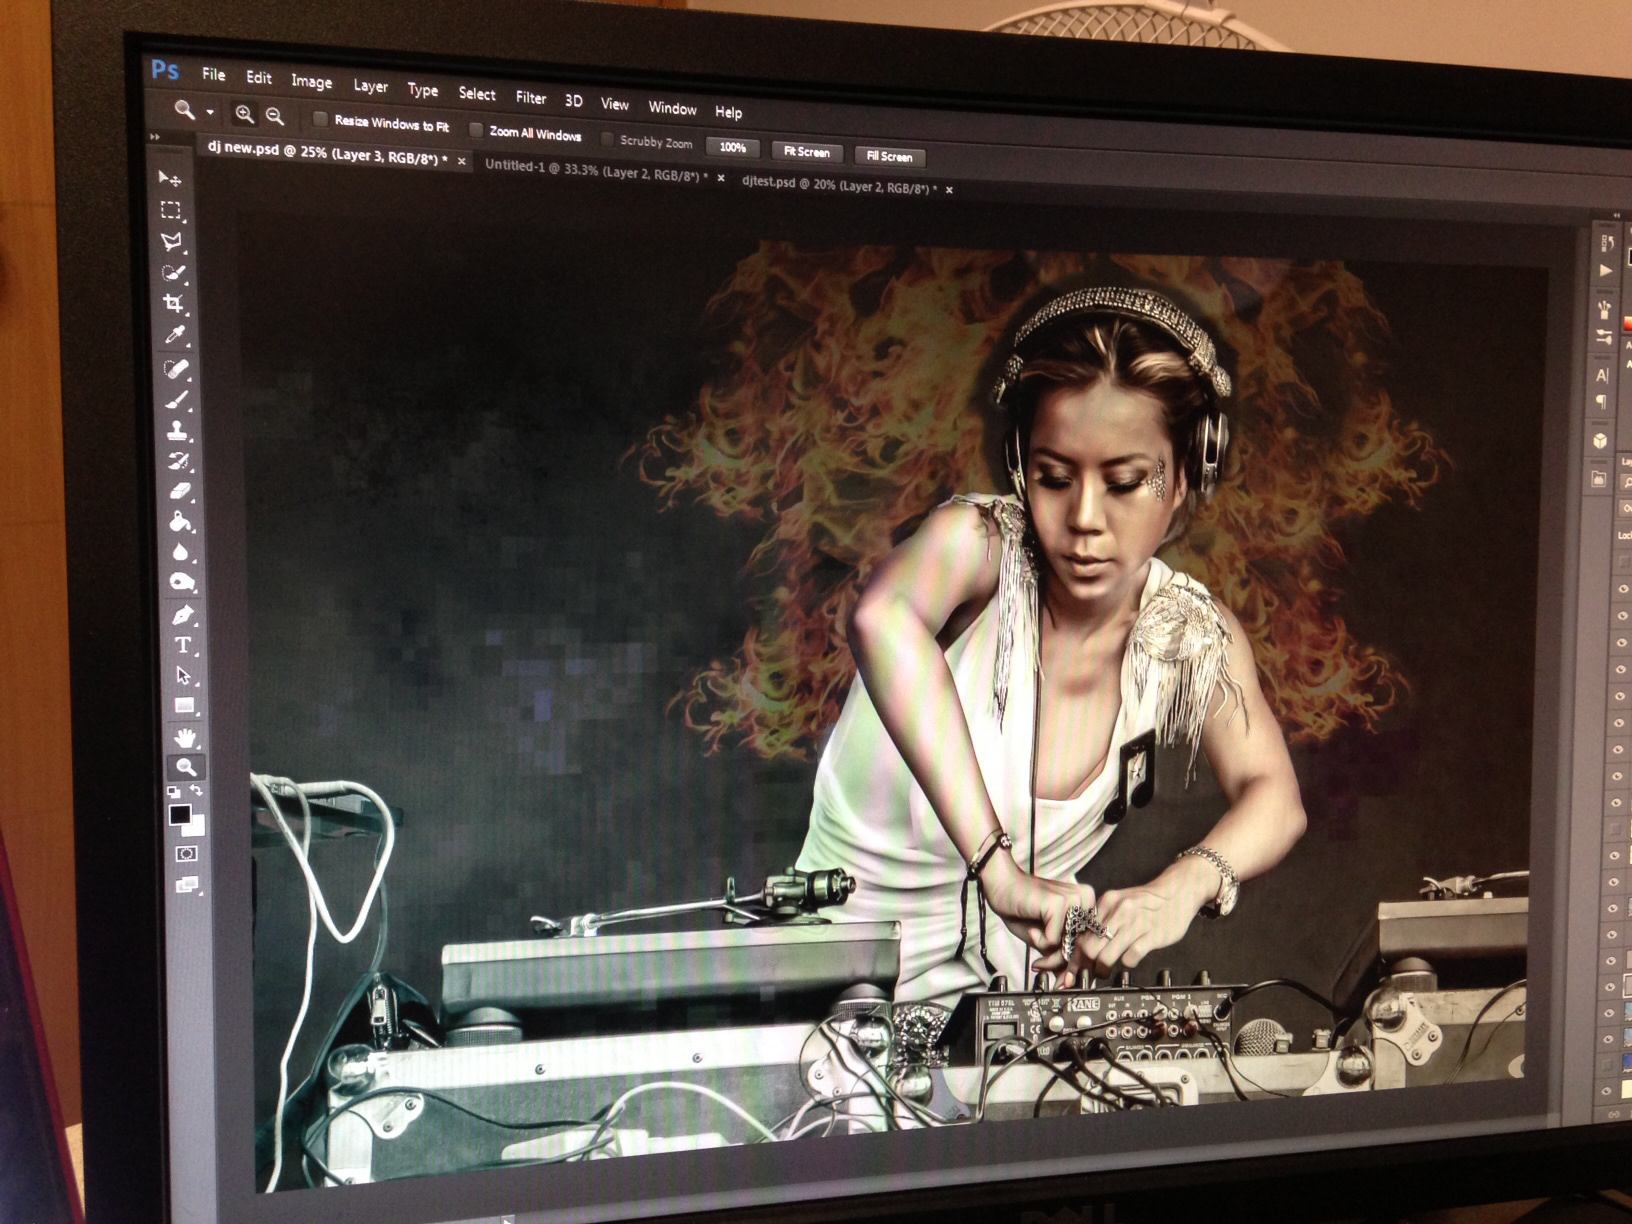
P:ixellization is an awesome technique used to give a digital touch to an image and Photoshop CS6's Pixellate tool helps a lot doing the hard work with ease.

copying the pixels from channels helps in getting sharp edges and also only captures the kind of highlight you want to have in a picture. Here I am selecting the Red Channel as the area and will be using to use as back drop for the image.
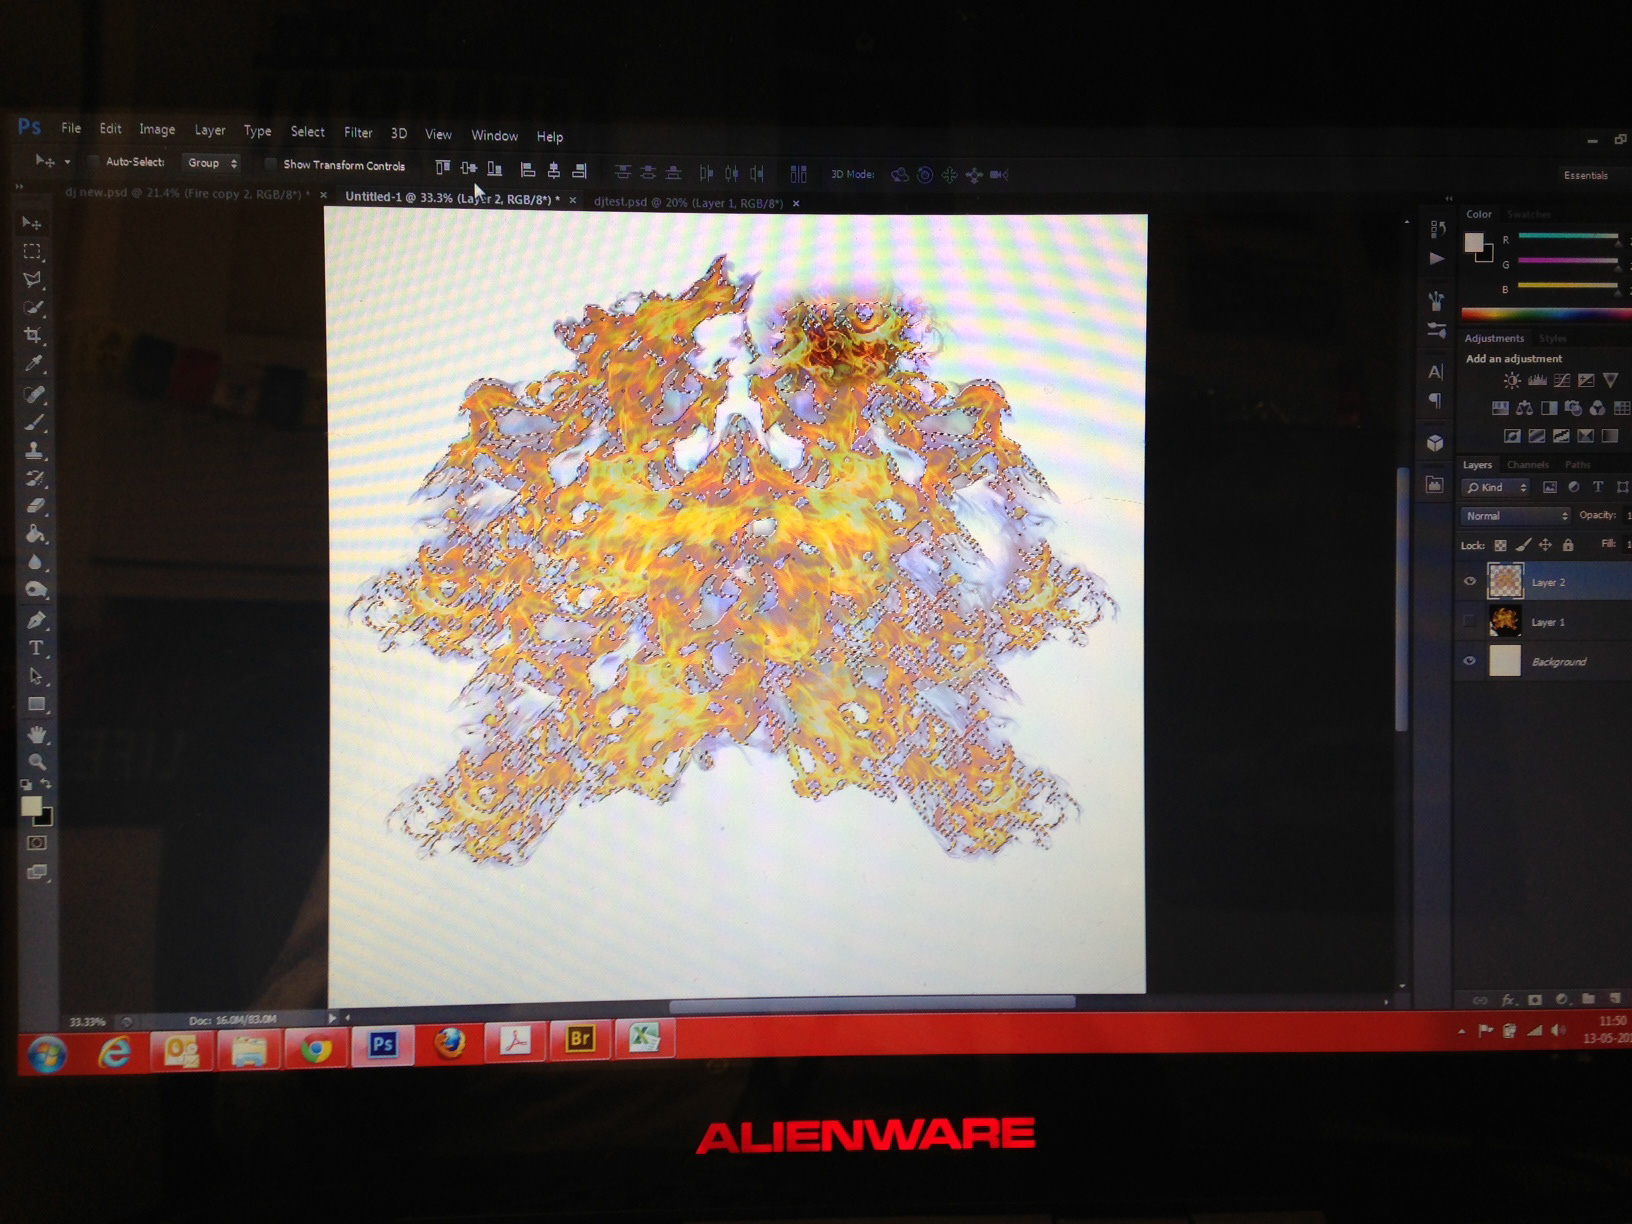
Adding the flames and masking it out of Sophia.
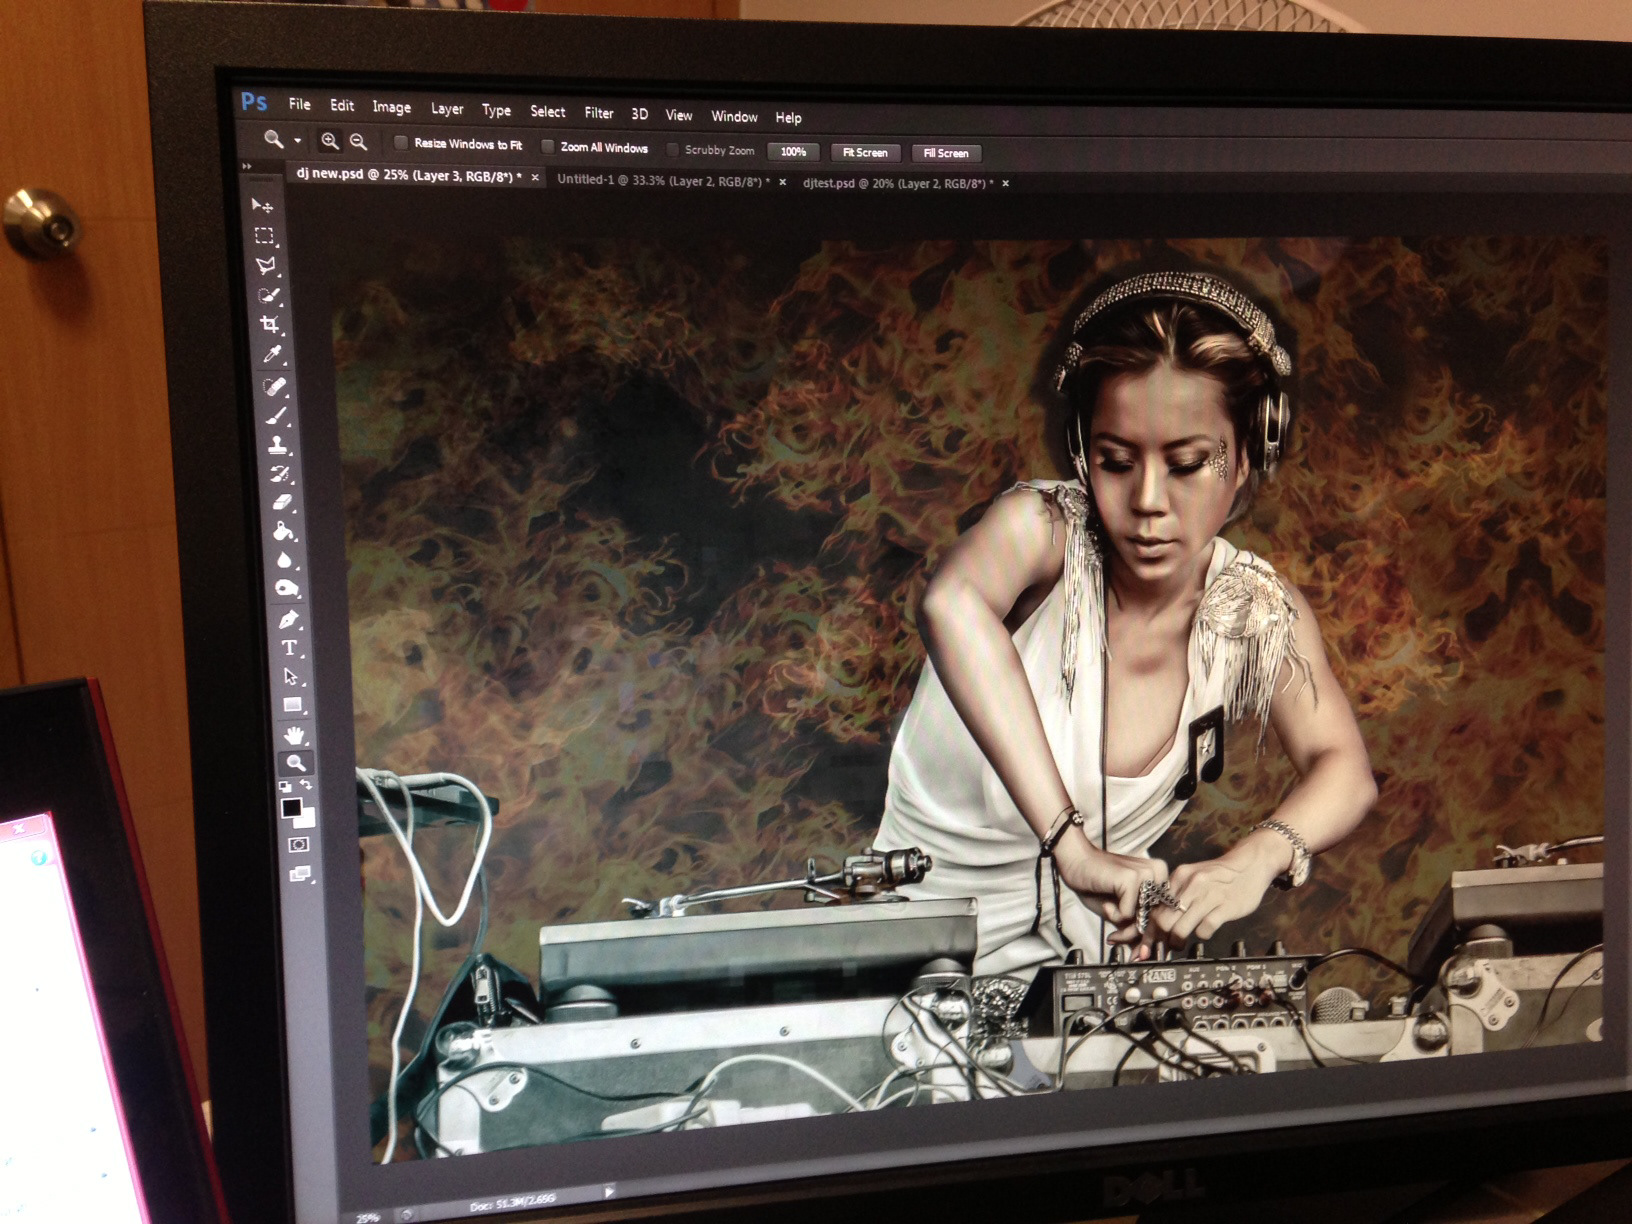
Duplicating Layers and adding multiple blend modes to spread the flames across the image to make it as a canvas backdrop.

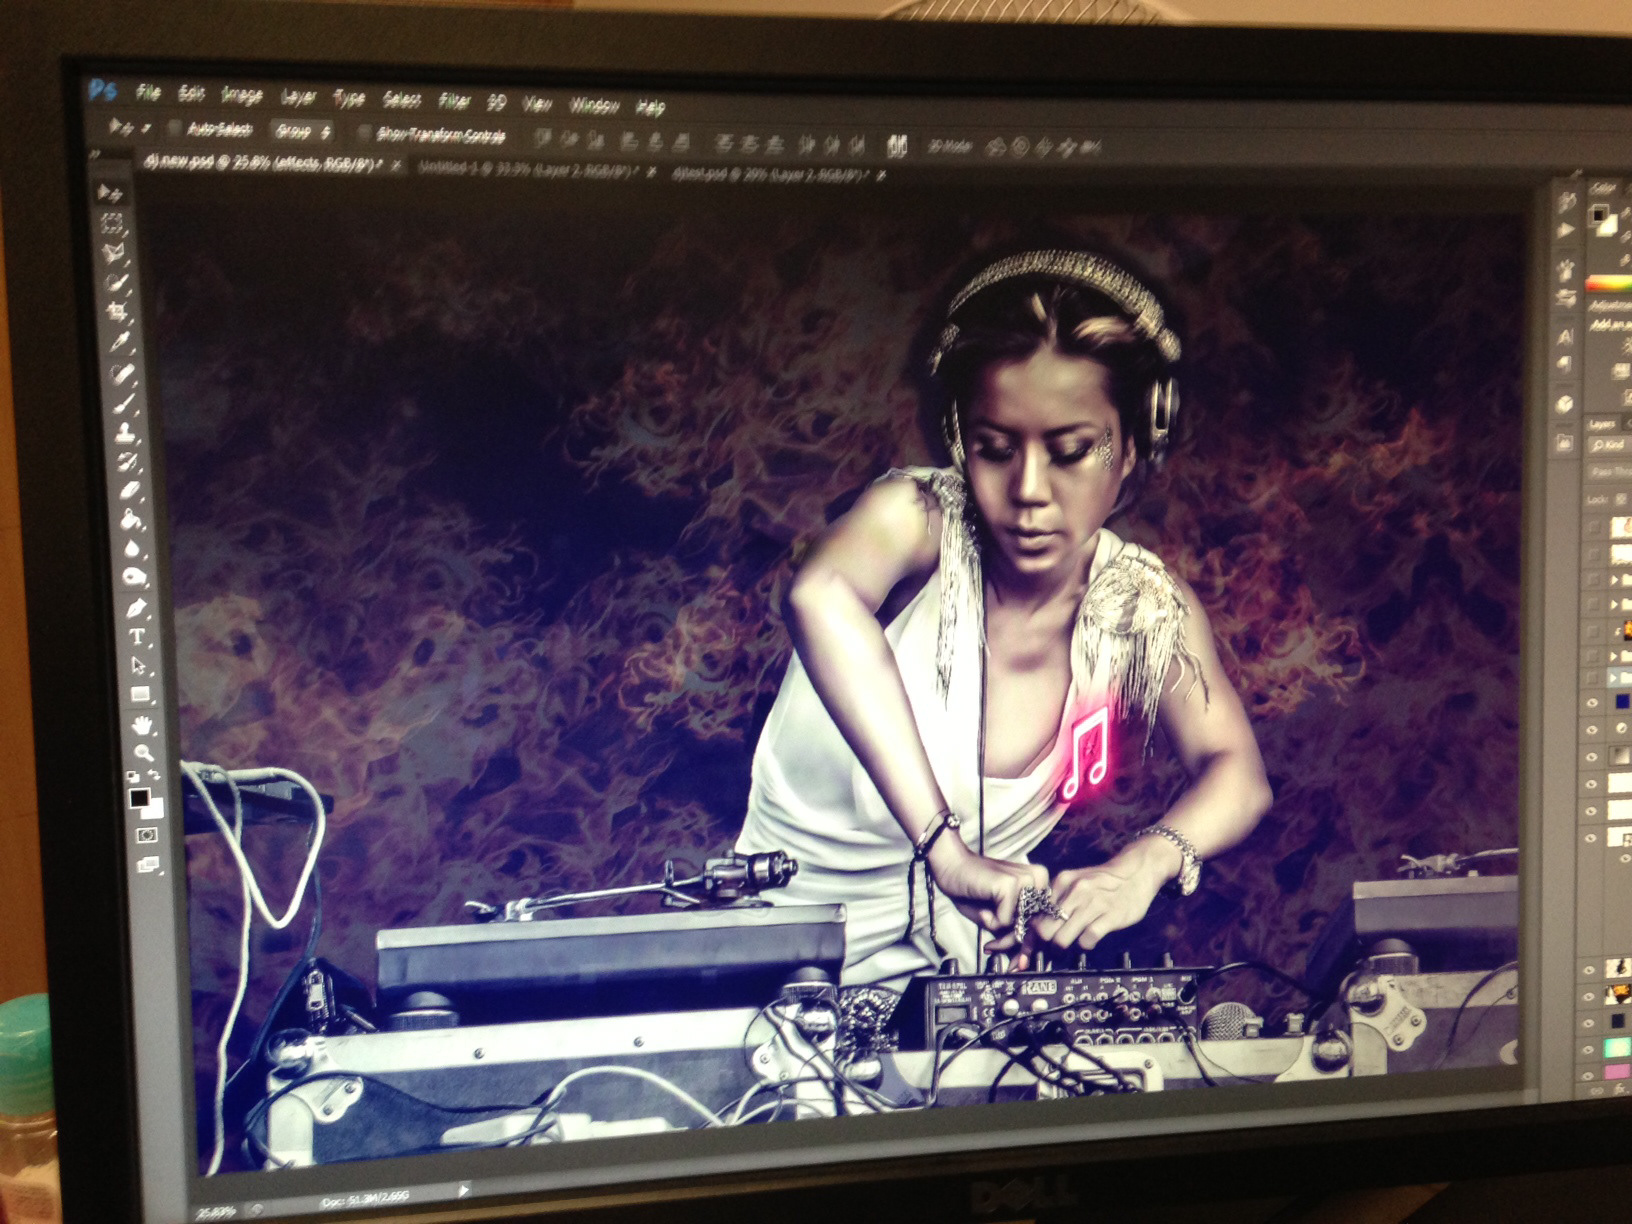
Using the Layer filters I add up the Outer glow and innerglow to give an illuminating effect to the music tone using basic shapes.
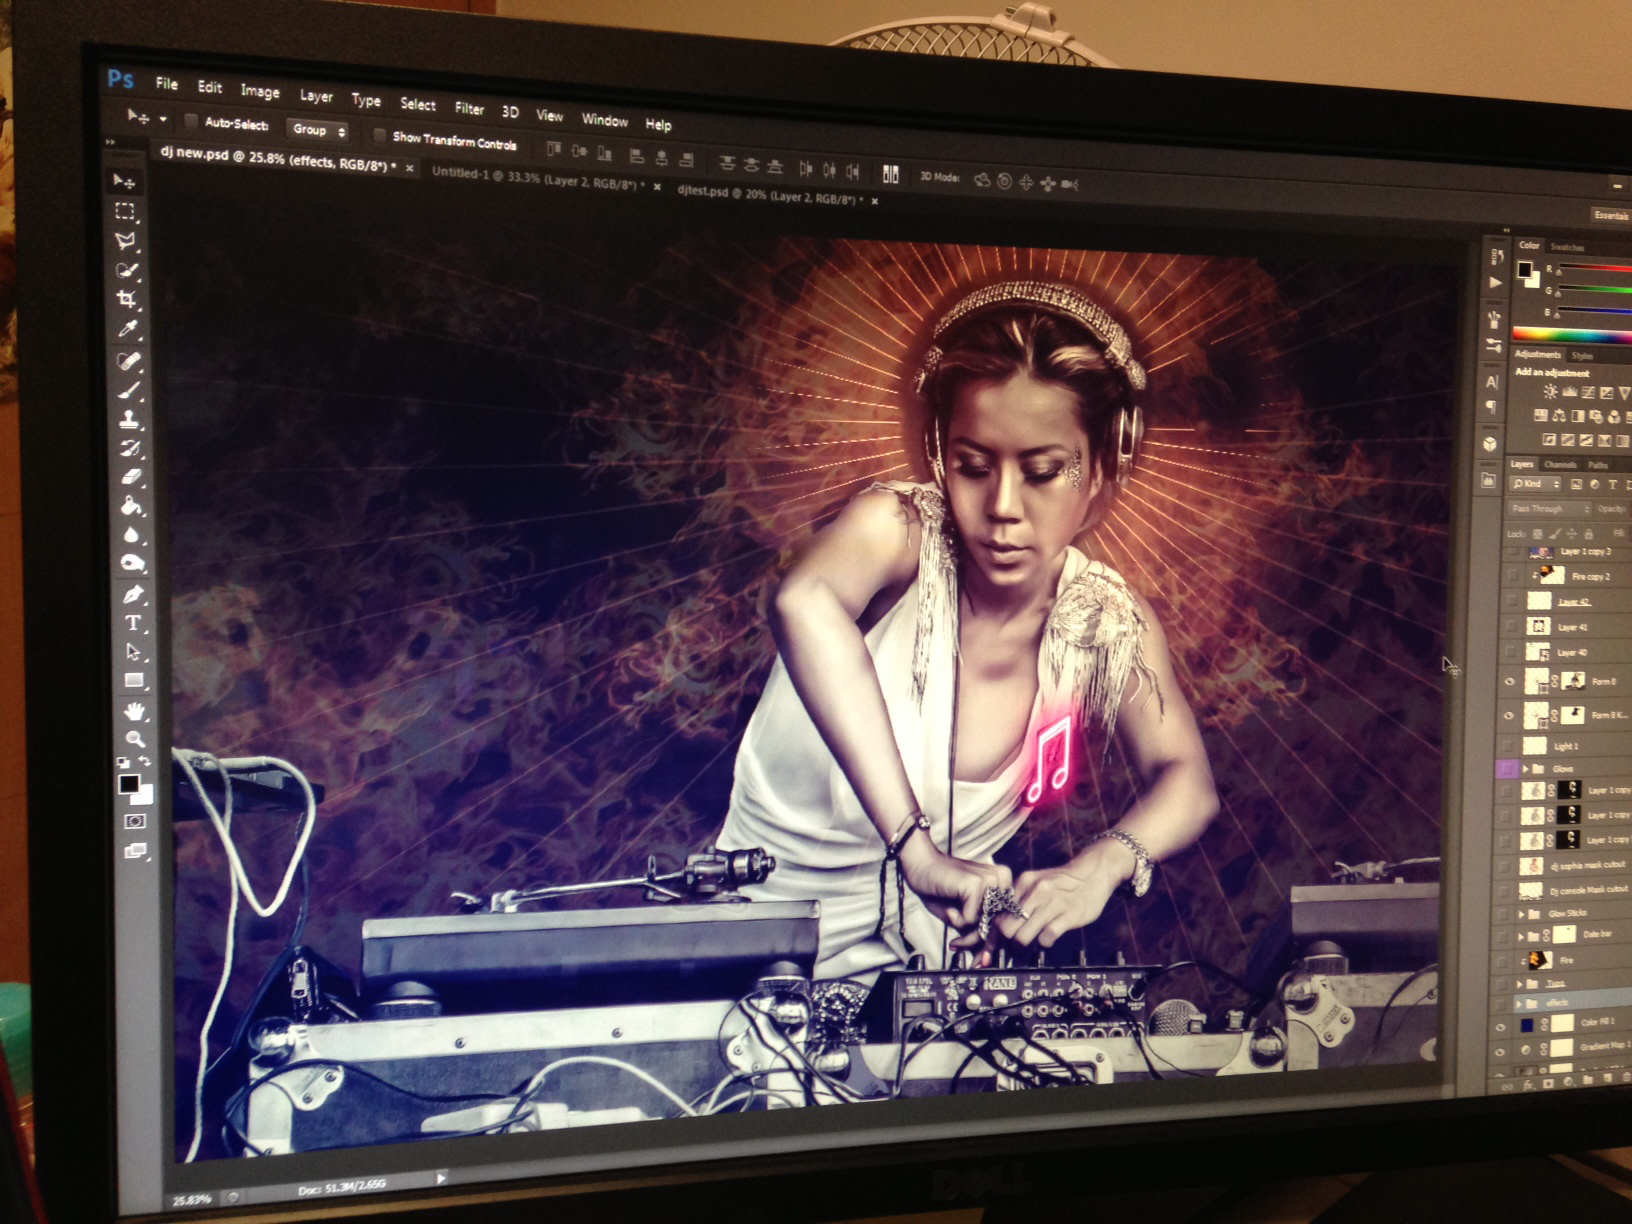
Adding more vector shapes either designed in Illustrator or Photoshop to create the Halo of Light Rays.
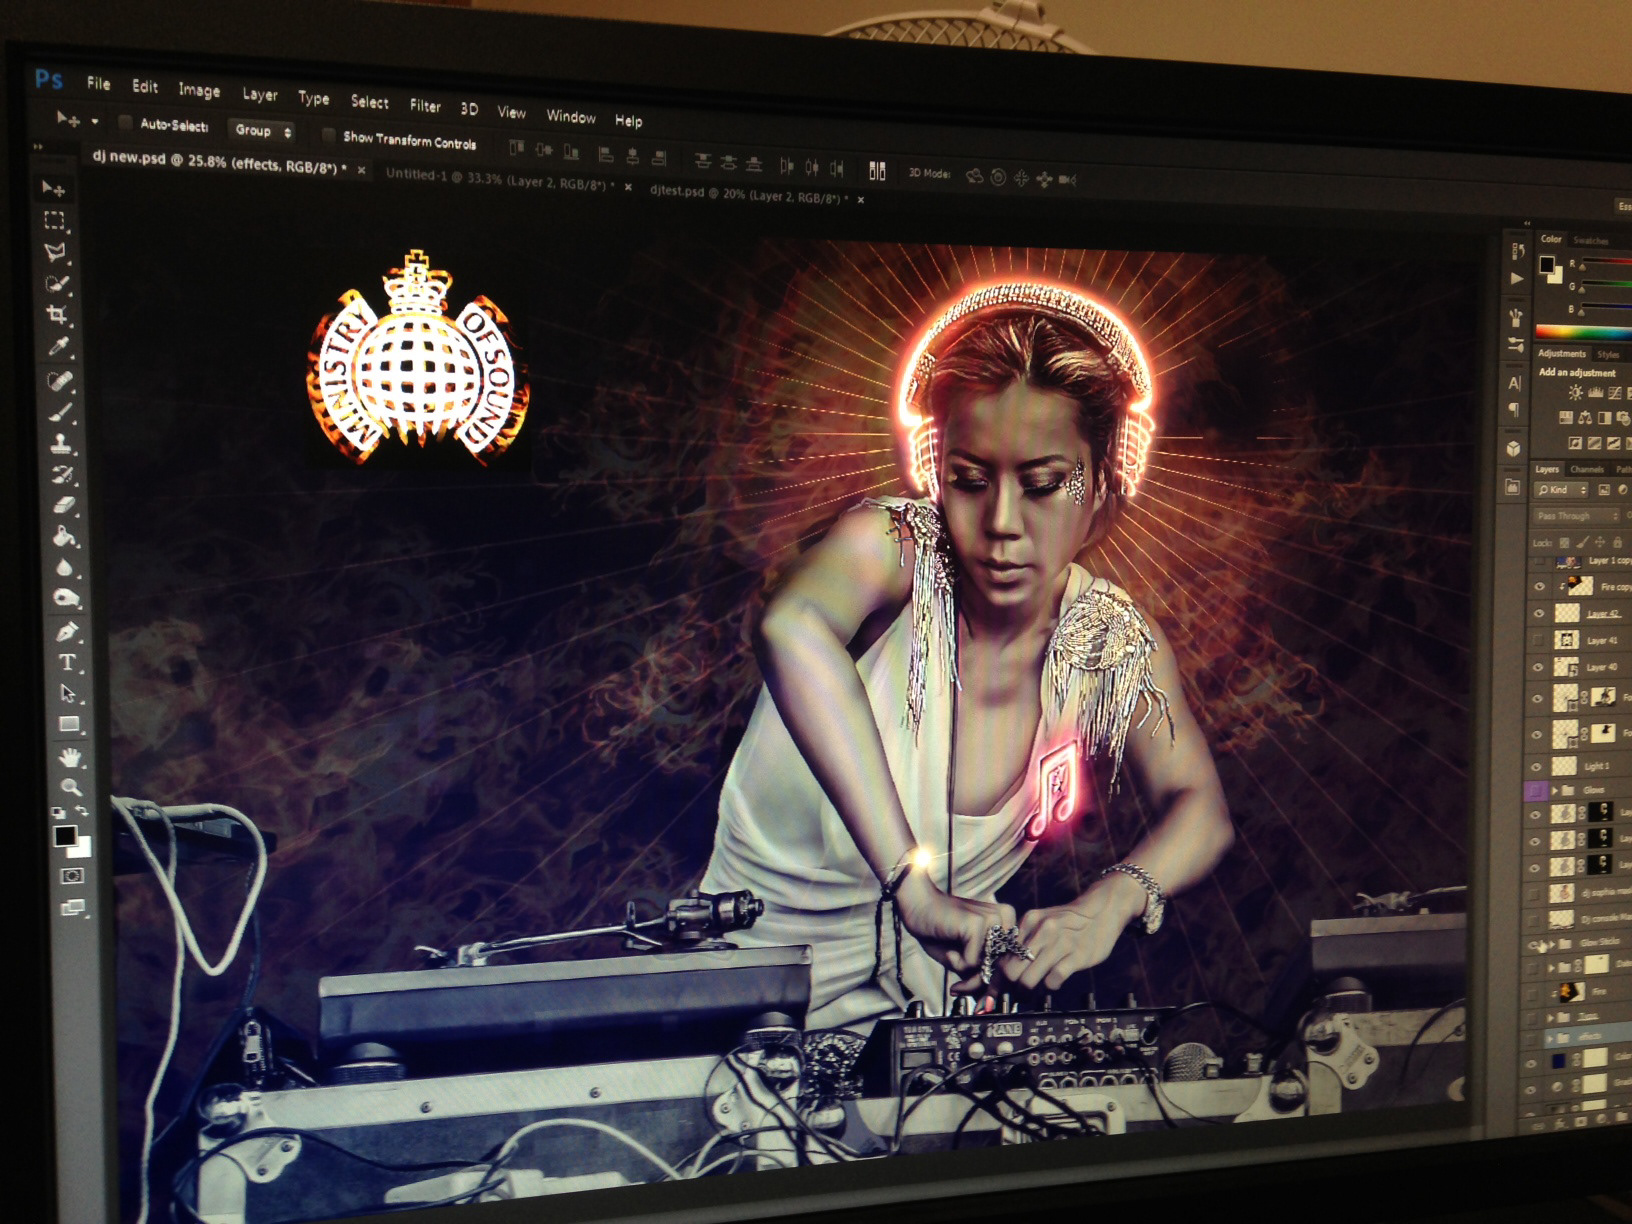
Finally adding the high resolution of the Misnistry of Sound logo with an Cliiping mask of the flames in the background and doing the same illuminating effect now for the headset.
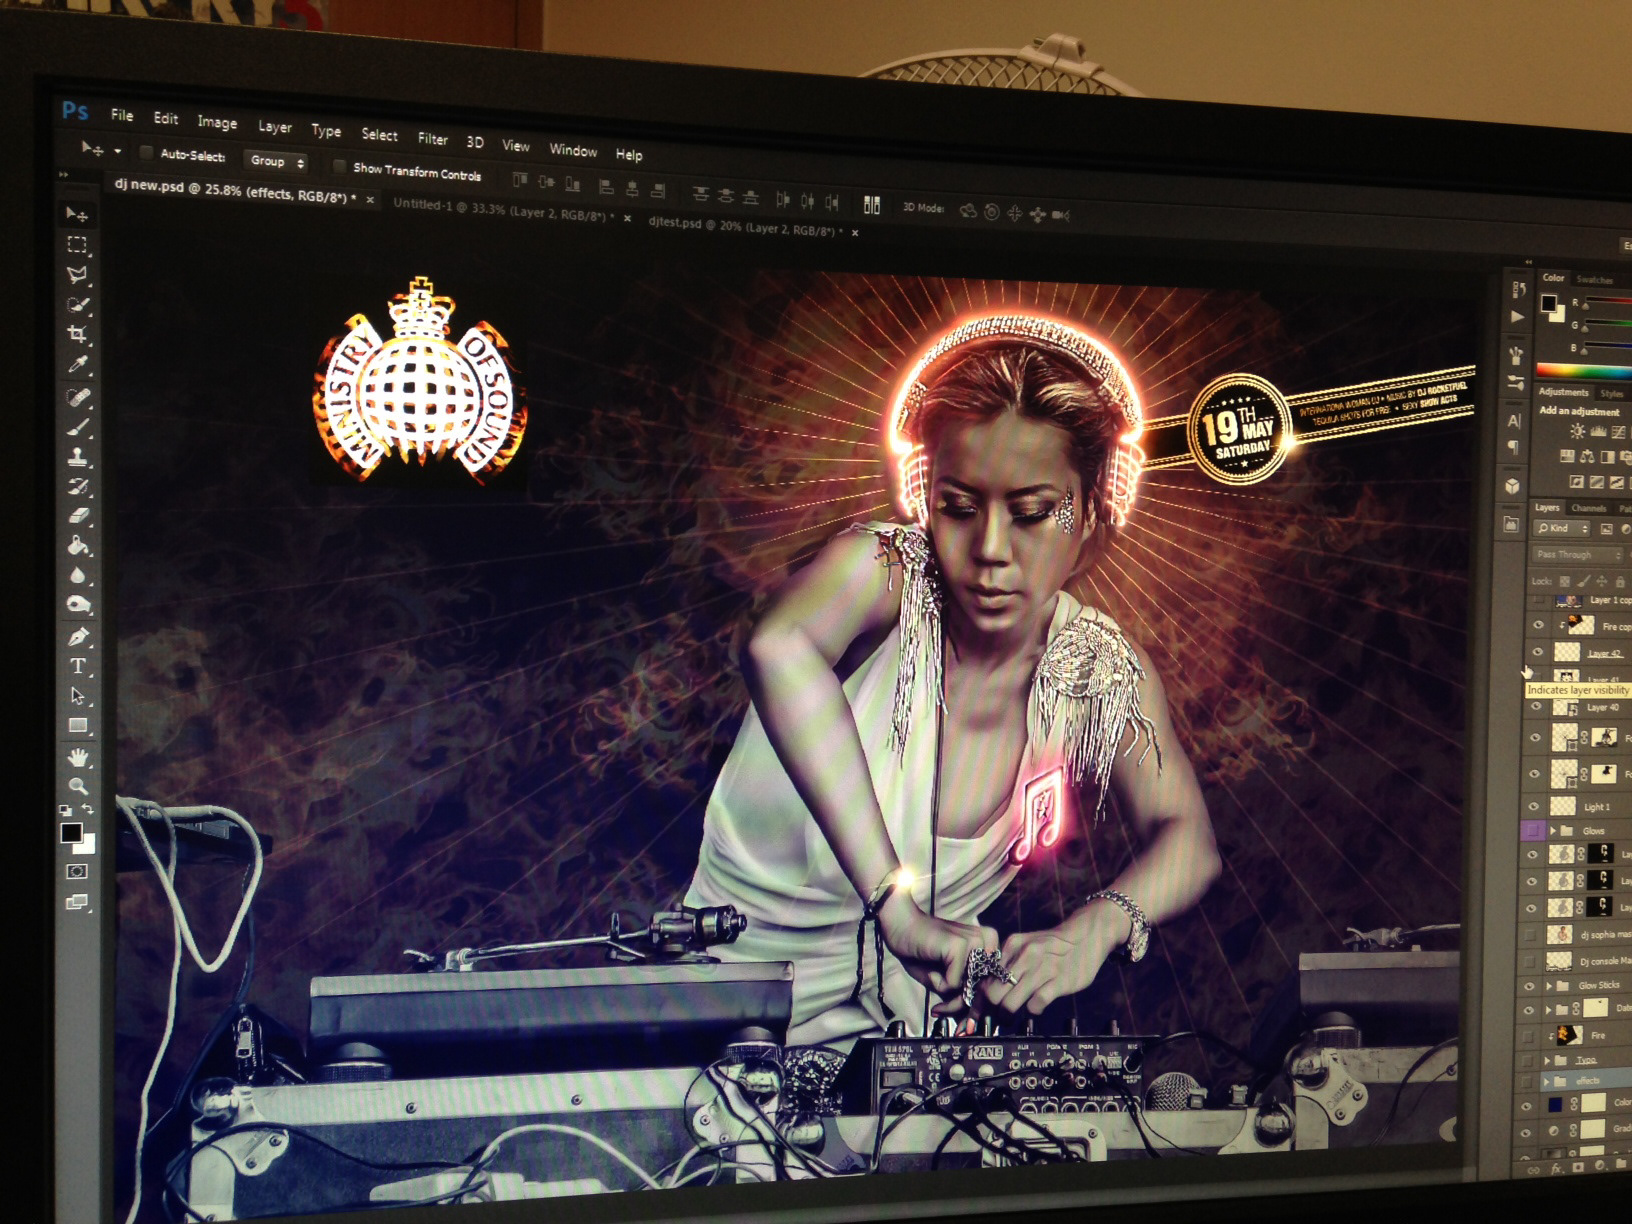
Adding Text and used the concept of Clipping mask and blend modes.
Voila: It is done and minor tweaks to enhance the vibrance and color to get the desired effect.
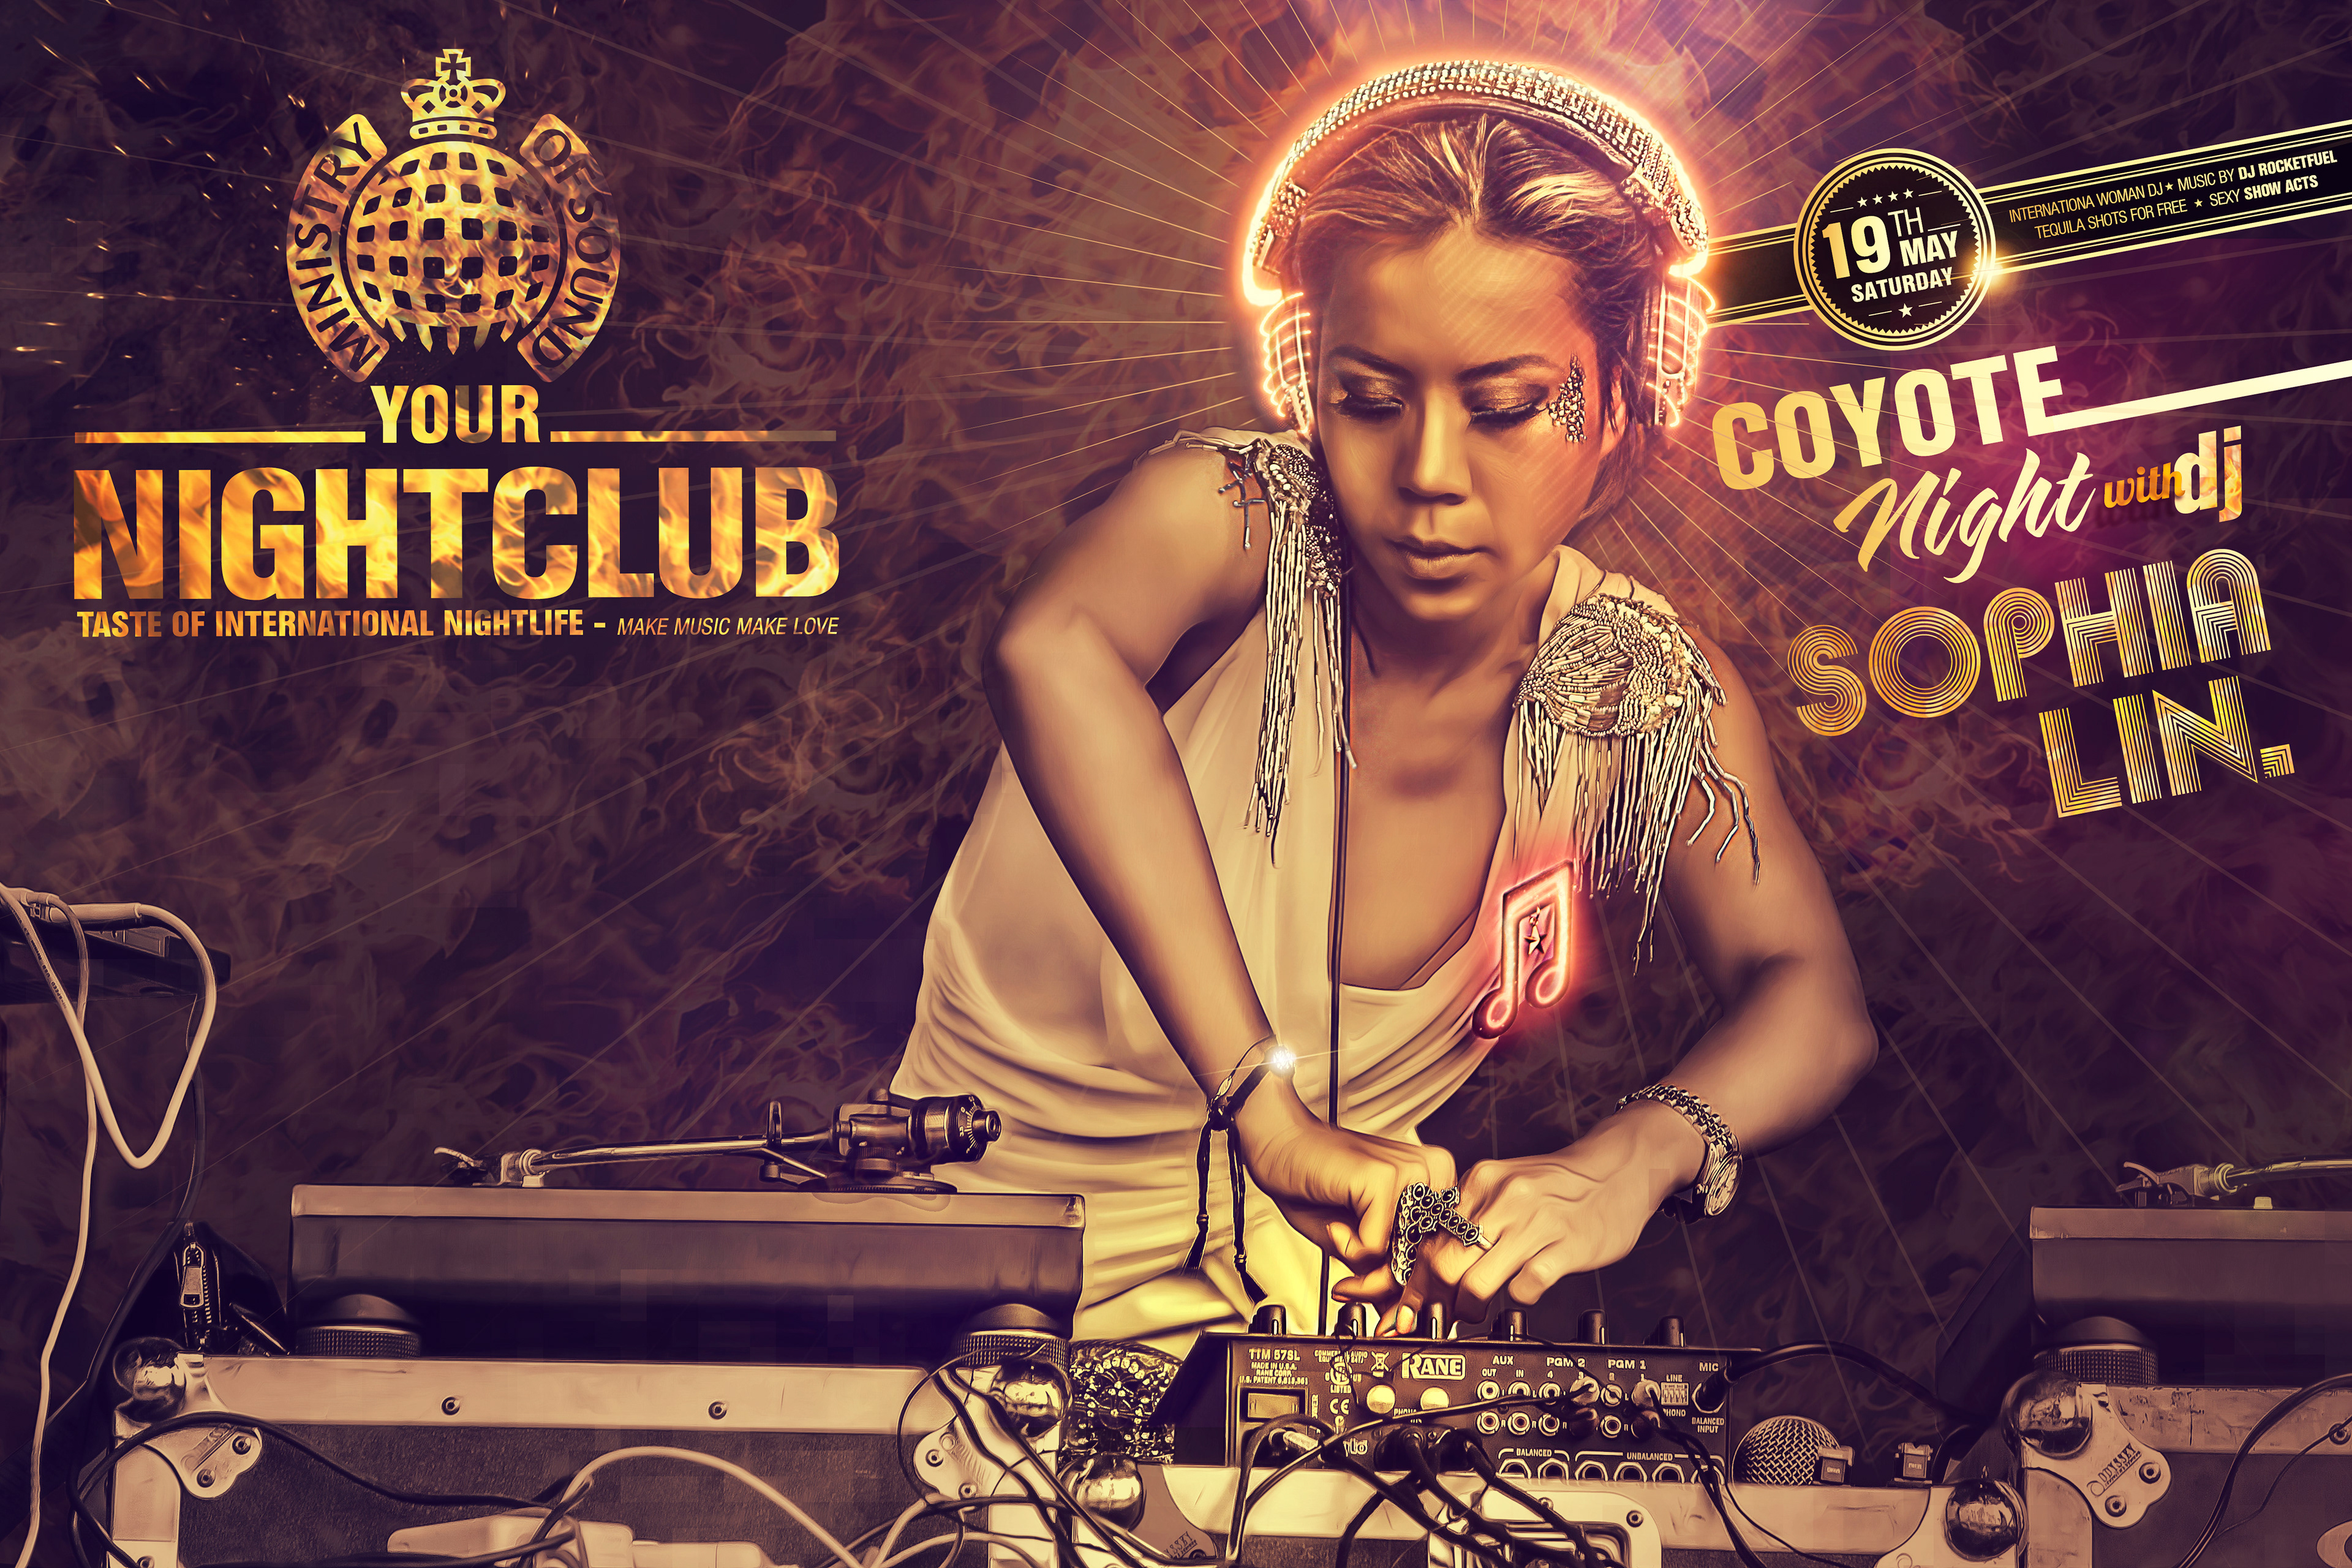
The Final Version.
Time Taken : 48 hrs + ( Spread over 3 days and working only in free time)
Products Used : Adobe Photoshop CS6 & Photoshop CS6 Cloud Tools, Adobe Illustrator
Top Features and Toolsets used : Blend Modes, Masking, Clipping Mask, Liquify, OilPaint, Filters & Camera Raw plugin tools.